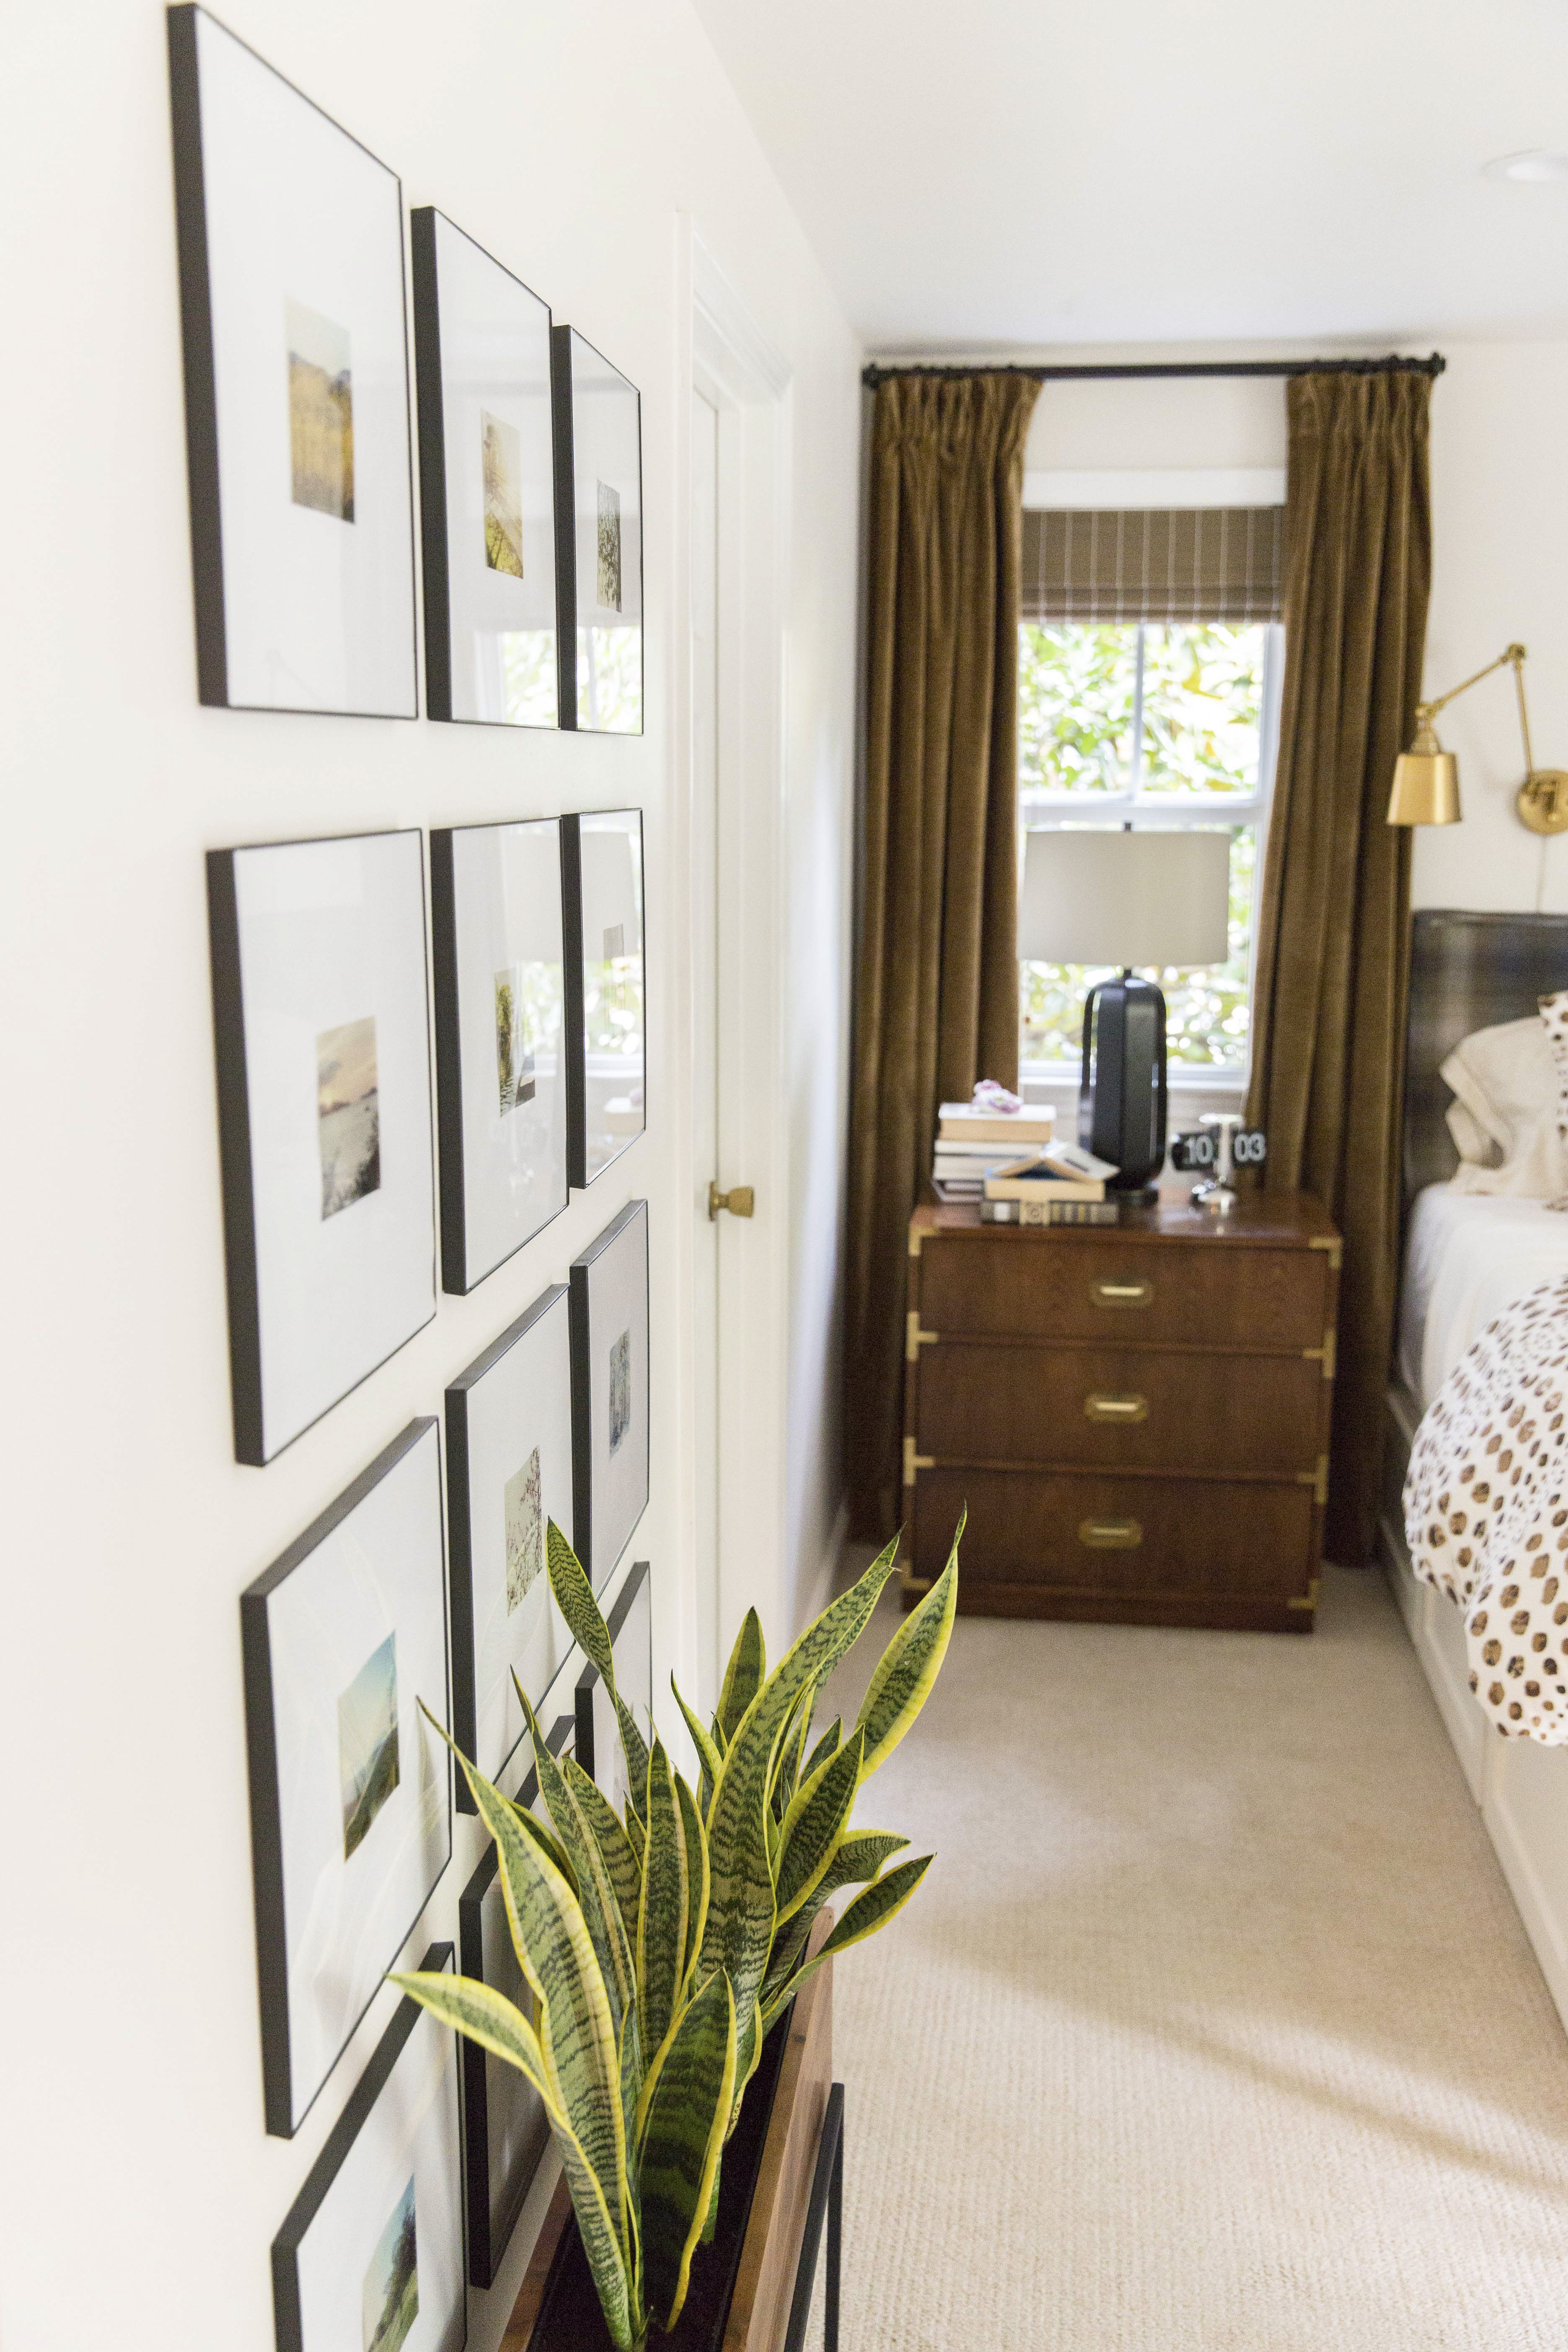
Last November I wrapped up redecorating our master bedroom and shared the transformation via the One Room Challenge. As part of that project I put together a gallery grid on one of the larger walls. This is such a simple and inexpensive way to make a big impact in a room, and BONUS: it’s personal and authentic to your family and memories! Win win!
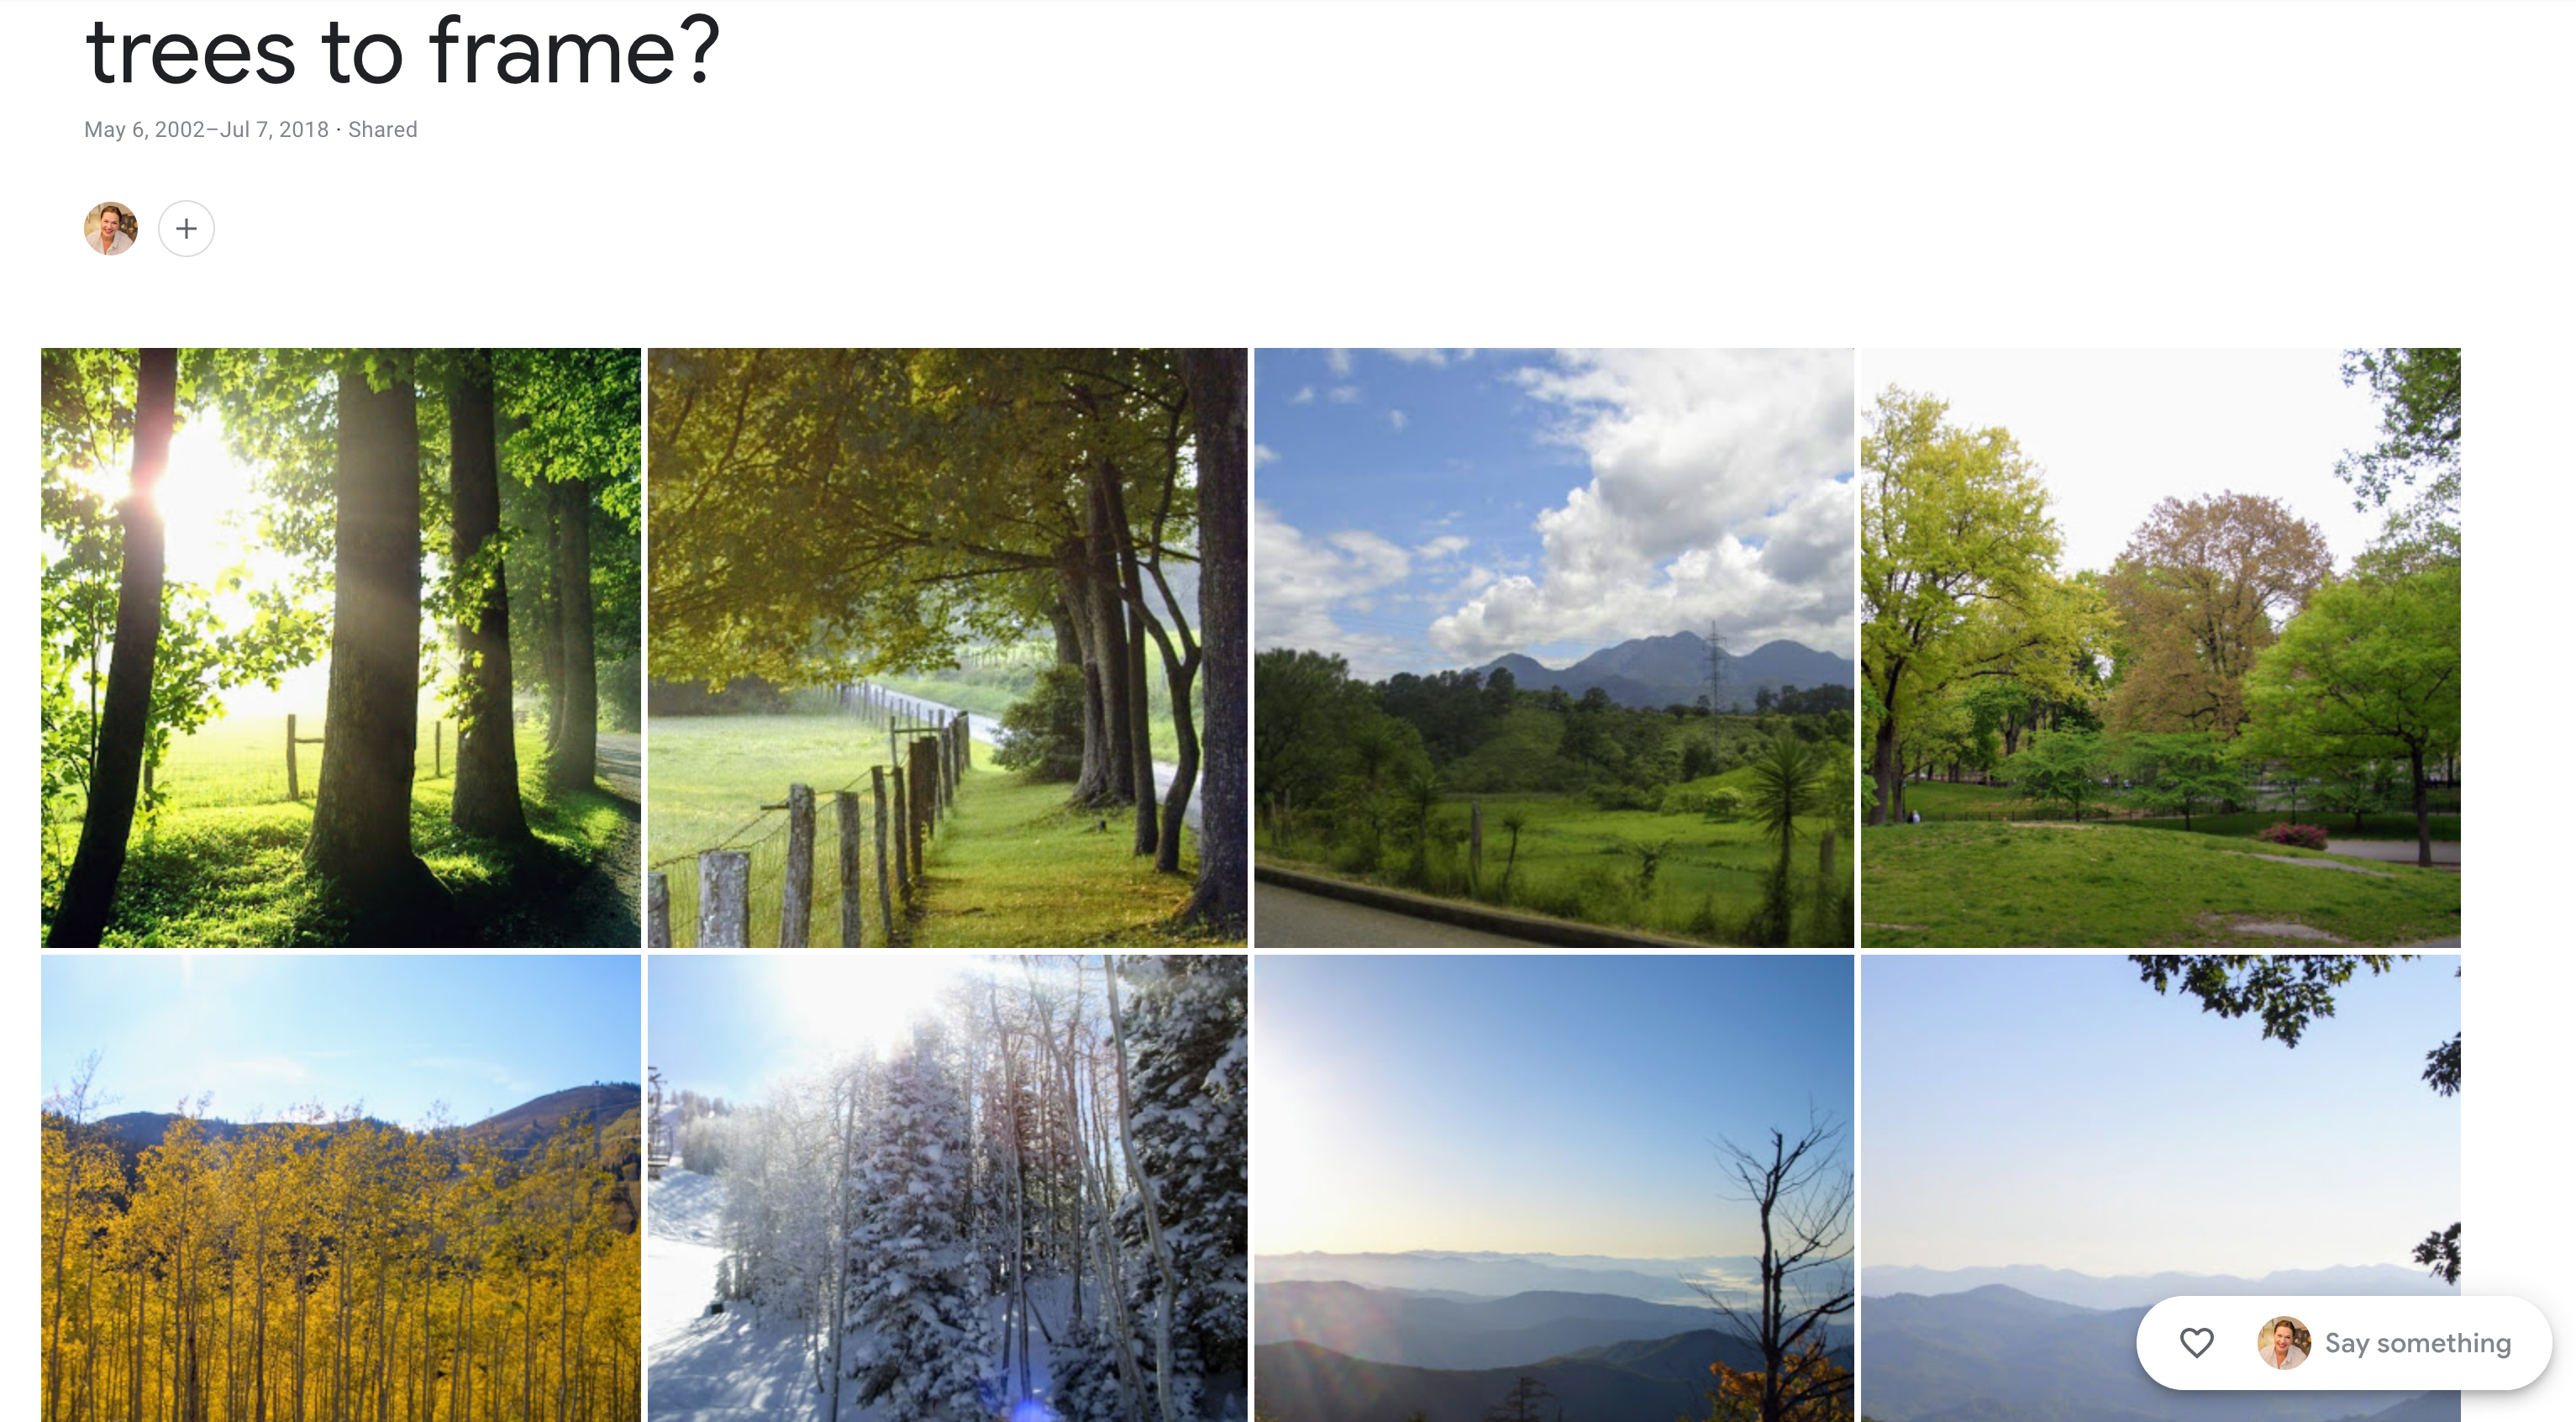
I always aim for something meaningful and lovely when looking for wall art. Well, I had recently uploaded all of the digital photos I’d ever taken in my life to Google Photos. This makes it super easy to see them all in one place, and to sort by location or by the faces in the pics (plus, it’s free!).
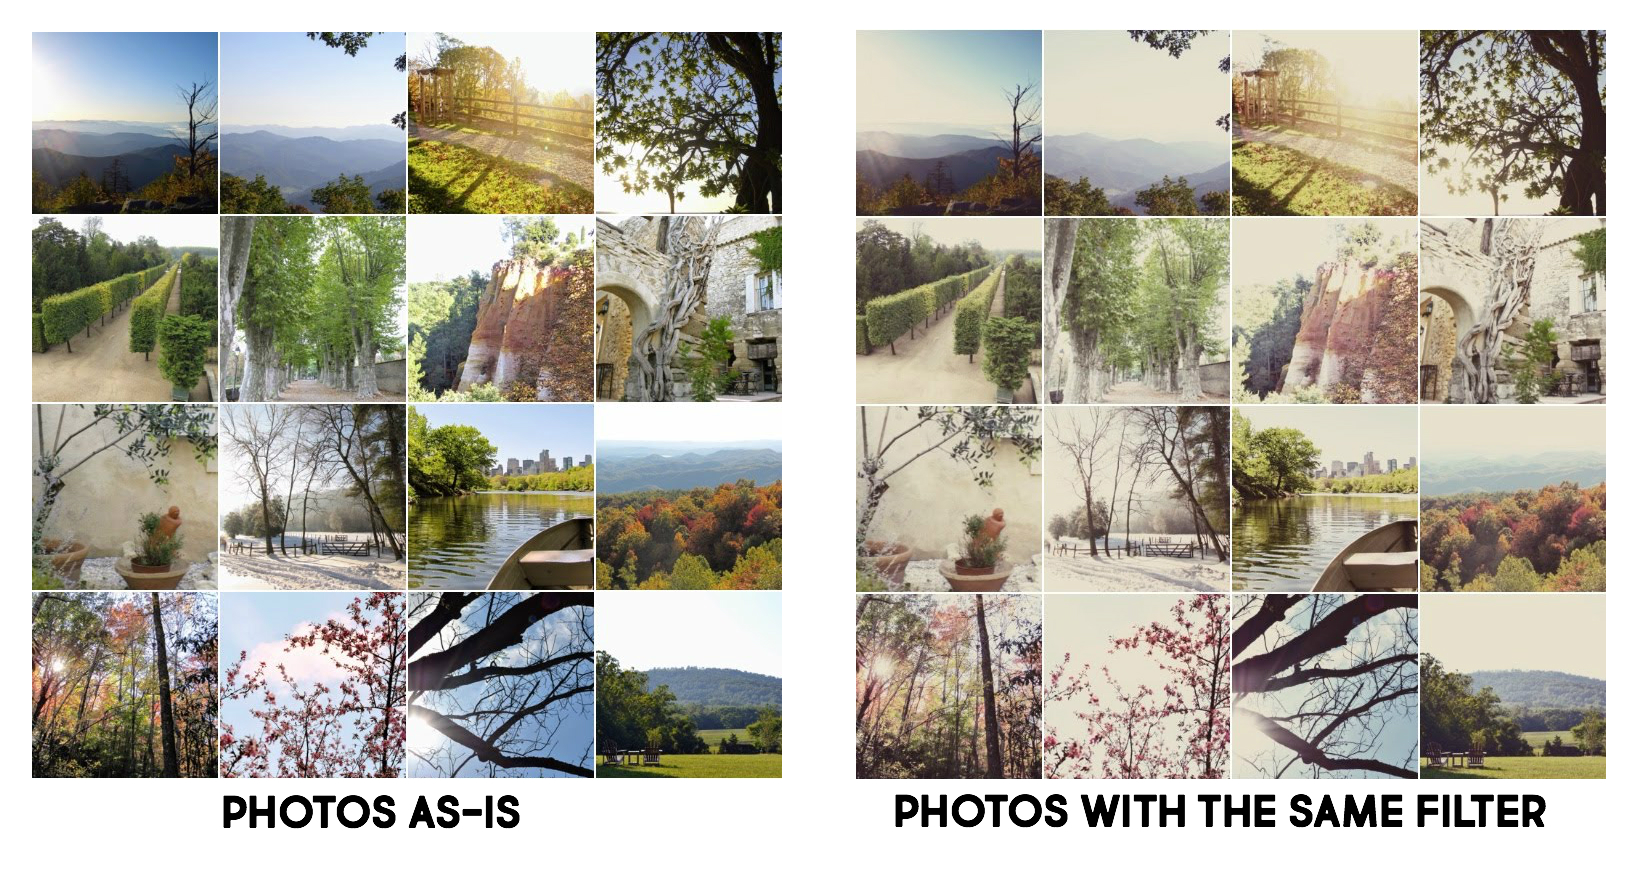
In looking through my old photos, I noticed a theme…I often snap photos of trees. So, I skimmed through my library of images and gathered a bunch of tree photos from travels and daily life, added the same filter to give them a bit of unity, added the year and location in small subtle text, and had them printed.
Needing to fill walls with art? I encourage you to look through your old photos. Do you notice anything repeating? Perhaps it’s interesting old doors or windows, pictures of clouds, sunsets, or beautiful bricks or stones. Or, maybe it’s the yearly first day of school pic of your kiddos or your family holiday card photos. Printing them small in a consistent size, and with the same filter, and framing them big will give them a more artistic feel.
How I Did It
The first step is to gather the photos into a folder in your photo software. Simply create a new folder and as you’re looking through the pics, add the ones you might consider. Be generous…it’s better to have more to choose from than not enough.
I have a handful of apps on my phone I use to edit photos, depending on what I am trying to do. PicTapGo is great for filters or brightening a photo. Once I had all of my tree photos gathered in a folder, I opened up PicTapGo and chose a filter to apply to them all.
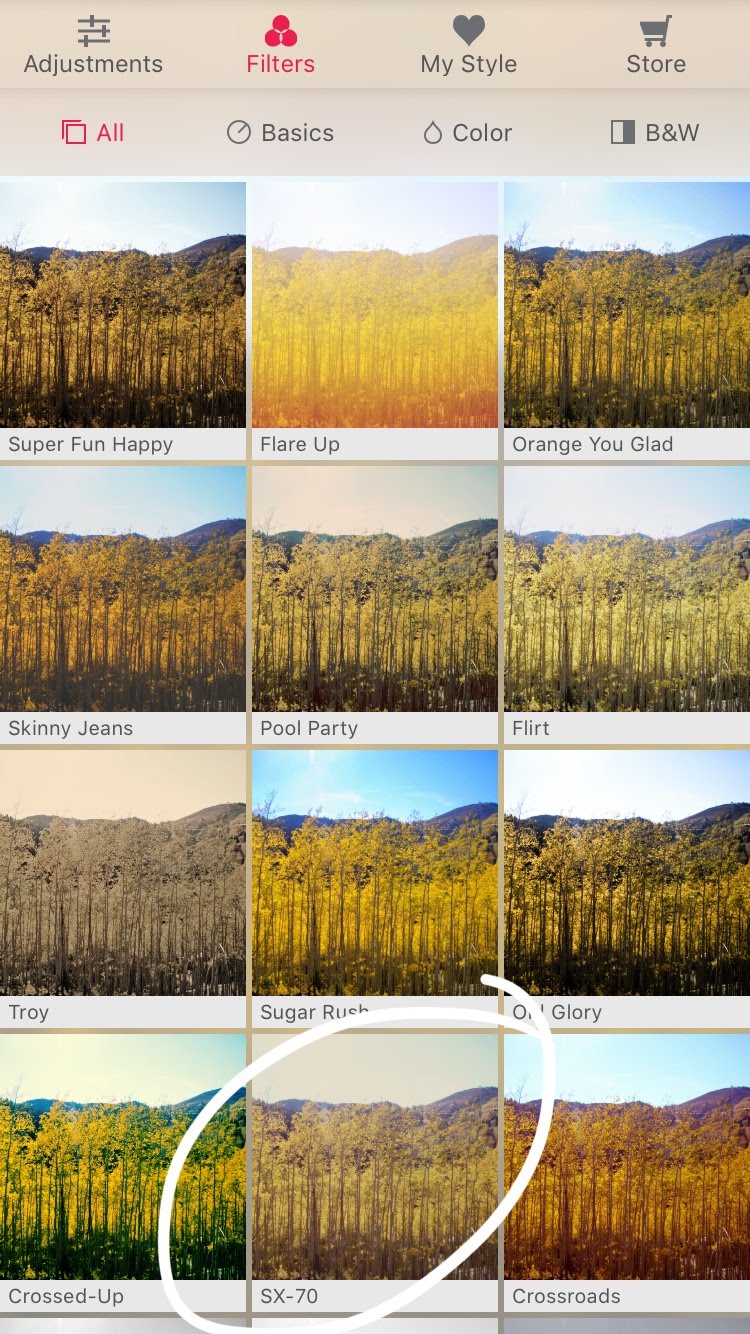
The SX-70 filter gave me the look I was going for…a bit muted and subtly colored. I applied the filter to each of those photos and also cropped all of the images to be square, knowing that’s the proportion I wanted to print.
Next, I wanted to add text to each photo, stating the year and the location. For text on photos, I often use an app called DesignLab. It allows you to use layers in an image, which kept the text in the same spot on top of each photo.
Here’s what it looks like to edit in DesignLab:
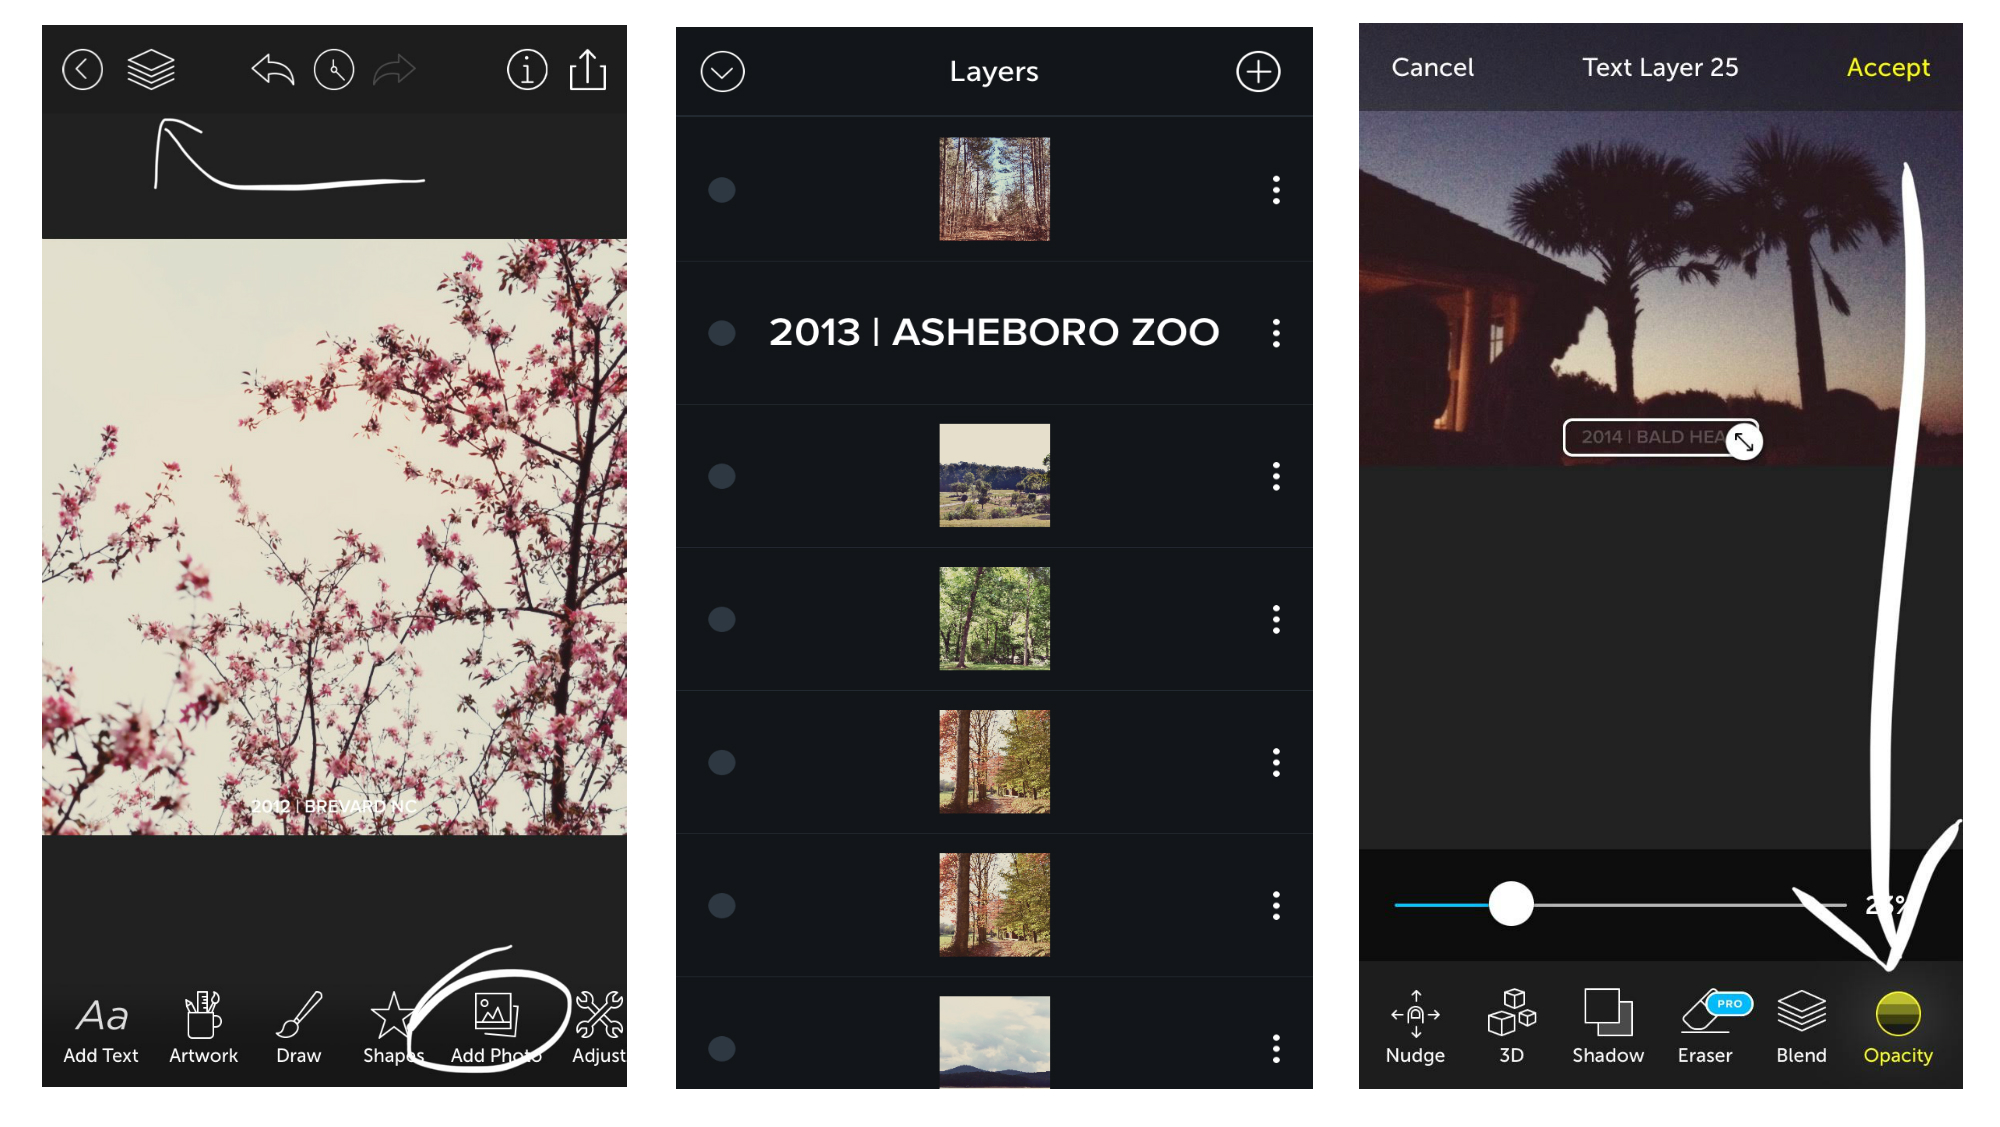
Once you have added a photo, you can click the stack of papers to move it to the top layer, just under the text layer. I also adjusted the opacity of the text so it was more subtle, and not a solid color.
With all of the photos cropped, filtered, and labeled, I simply ordered prints. I like the ease of the Walgreens photo service and app, and can pick them up less than a mile from my home, so that’s how I ordered them.
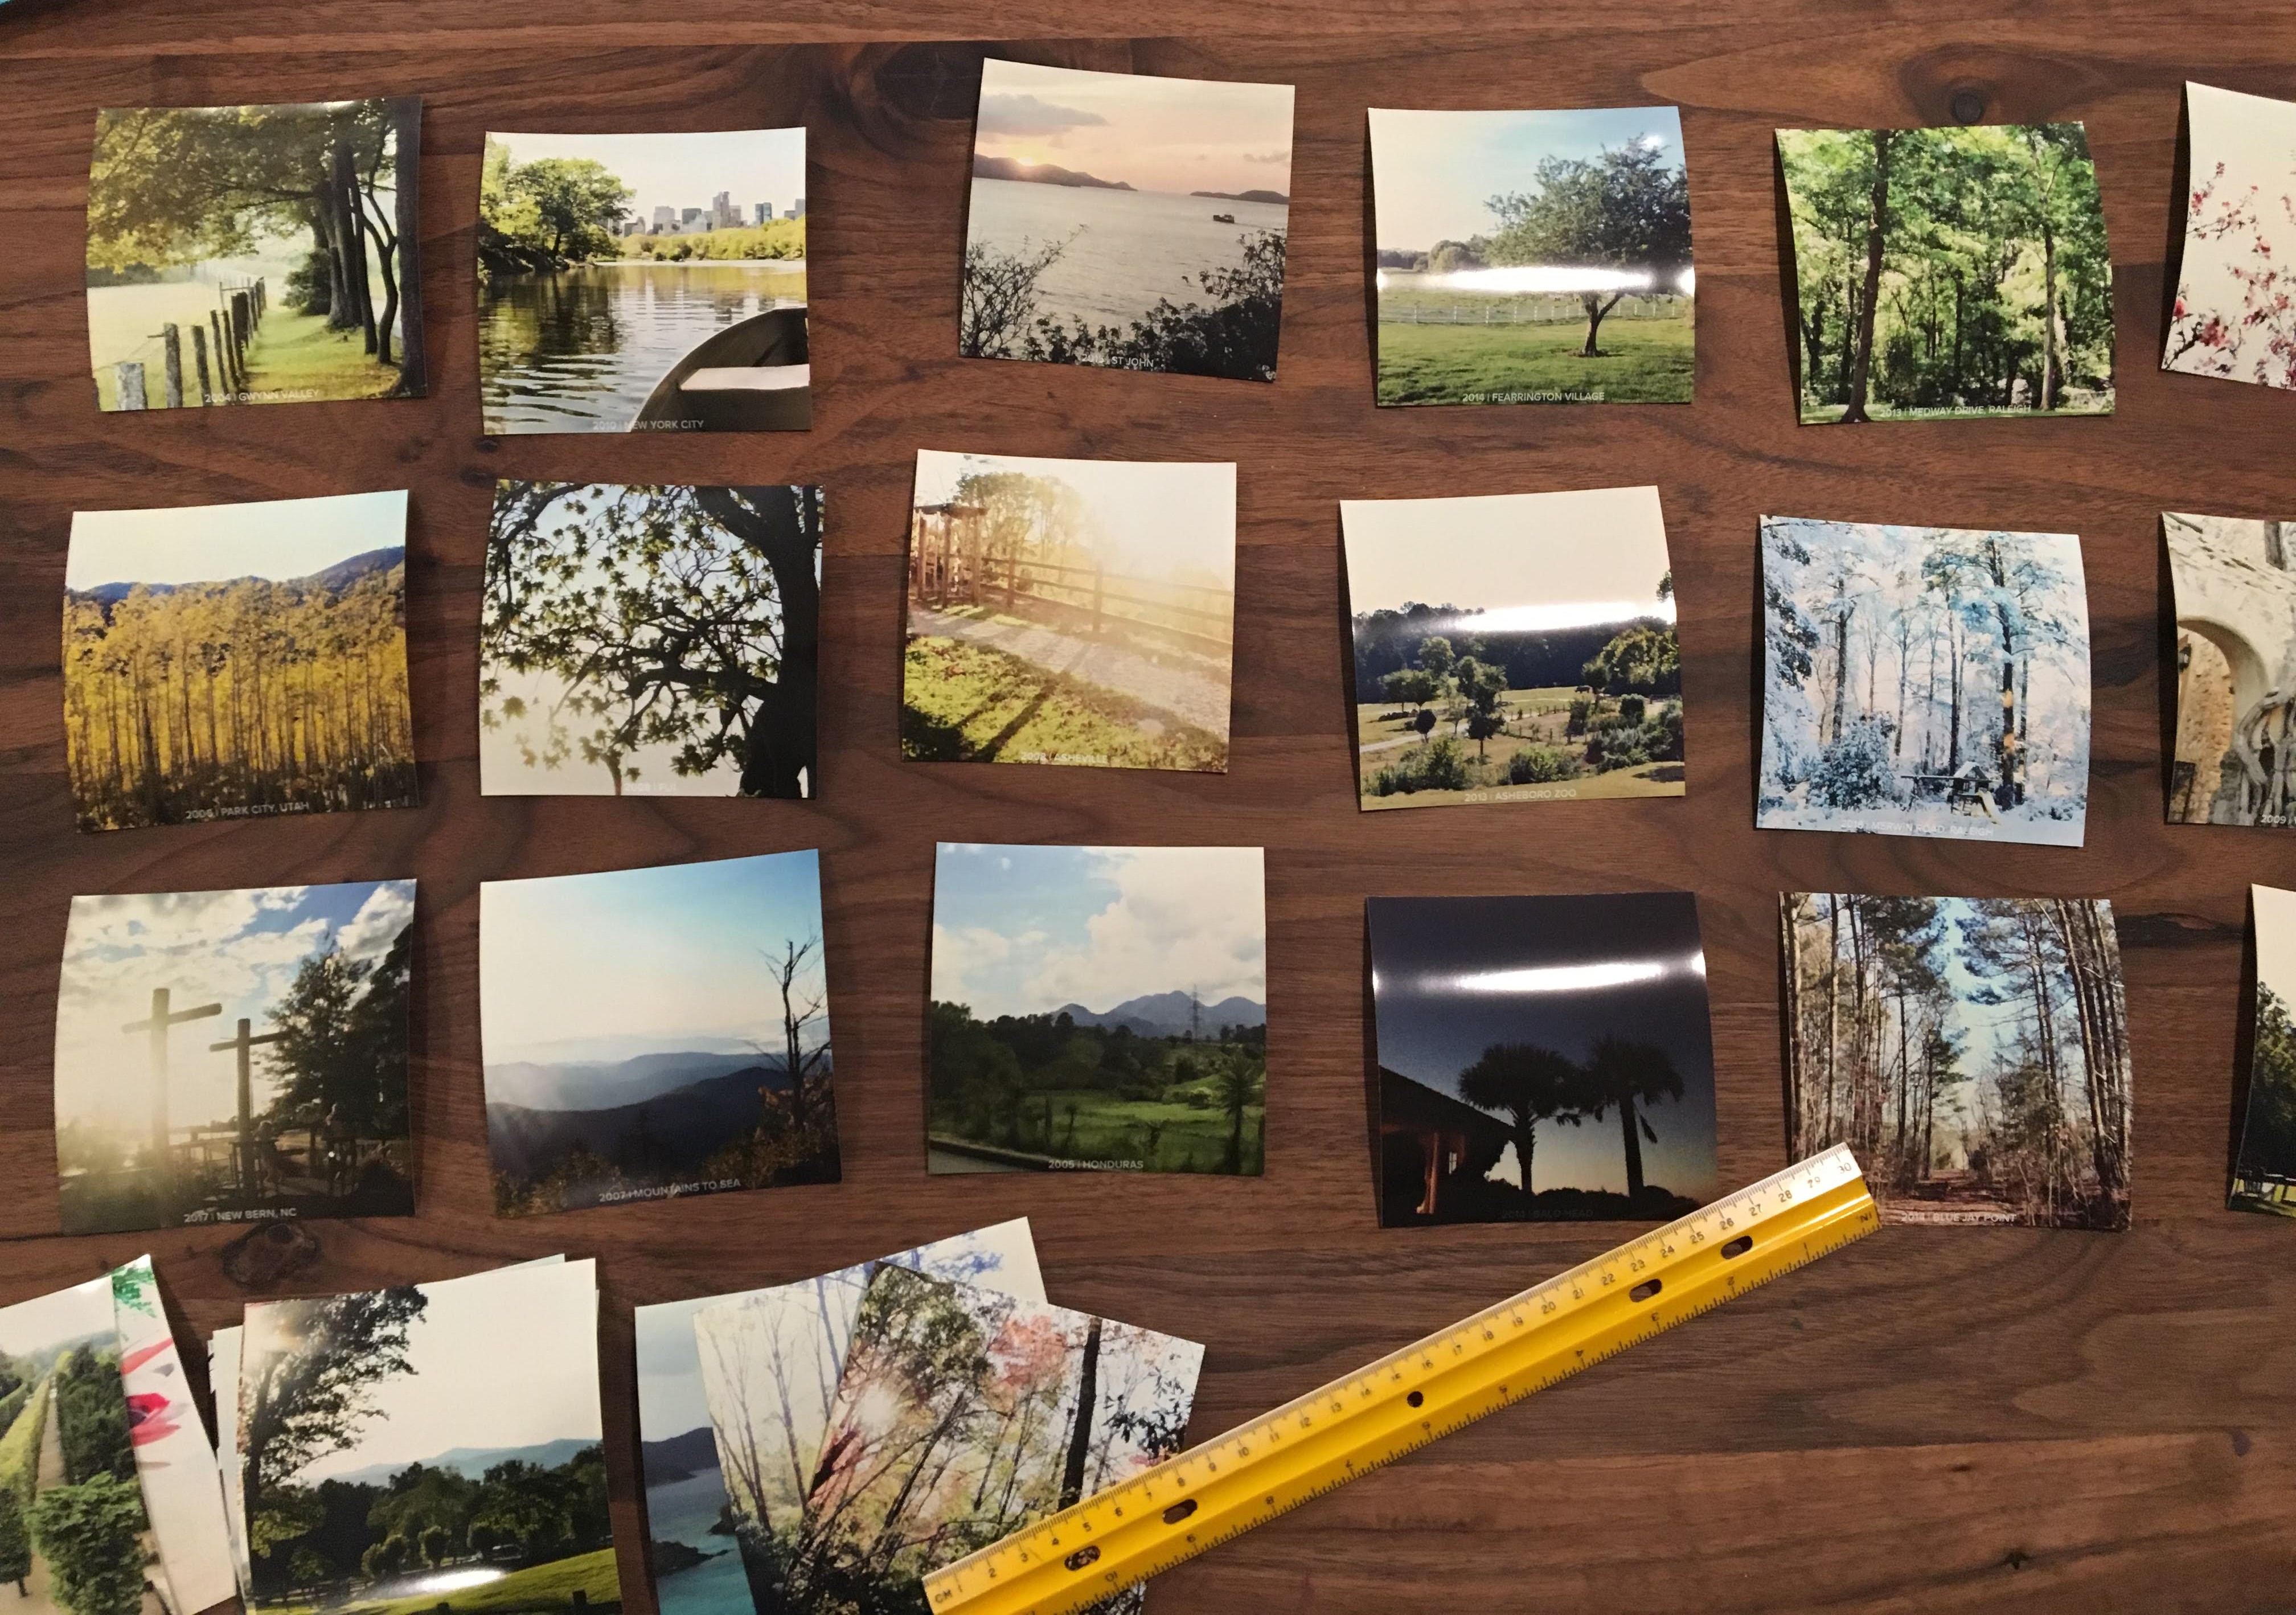
I picked up 12″x12″ frames for $8 from Michaels. I wanted the look of a nice chunky mat, but rather than purchasing proper mats, I found white 12″x12″ scrapbook paper with a linen texture. I simply taped each photo on top of the paper, and popped them in the frames.
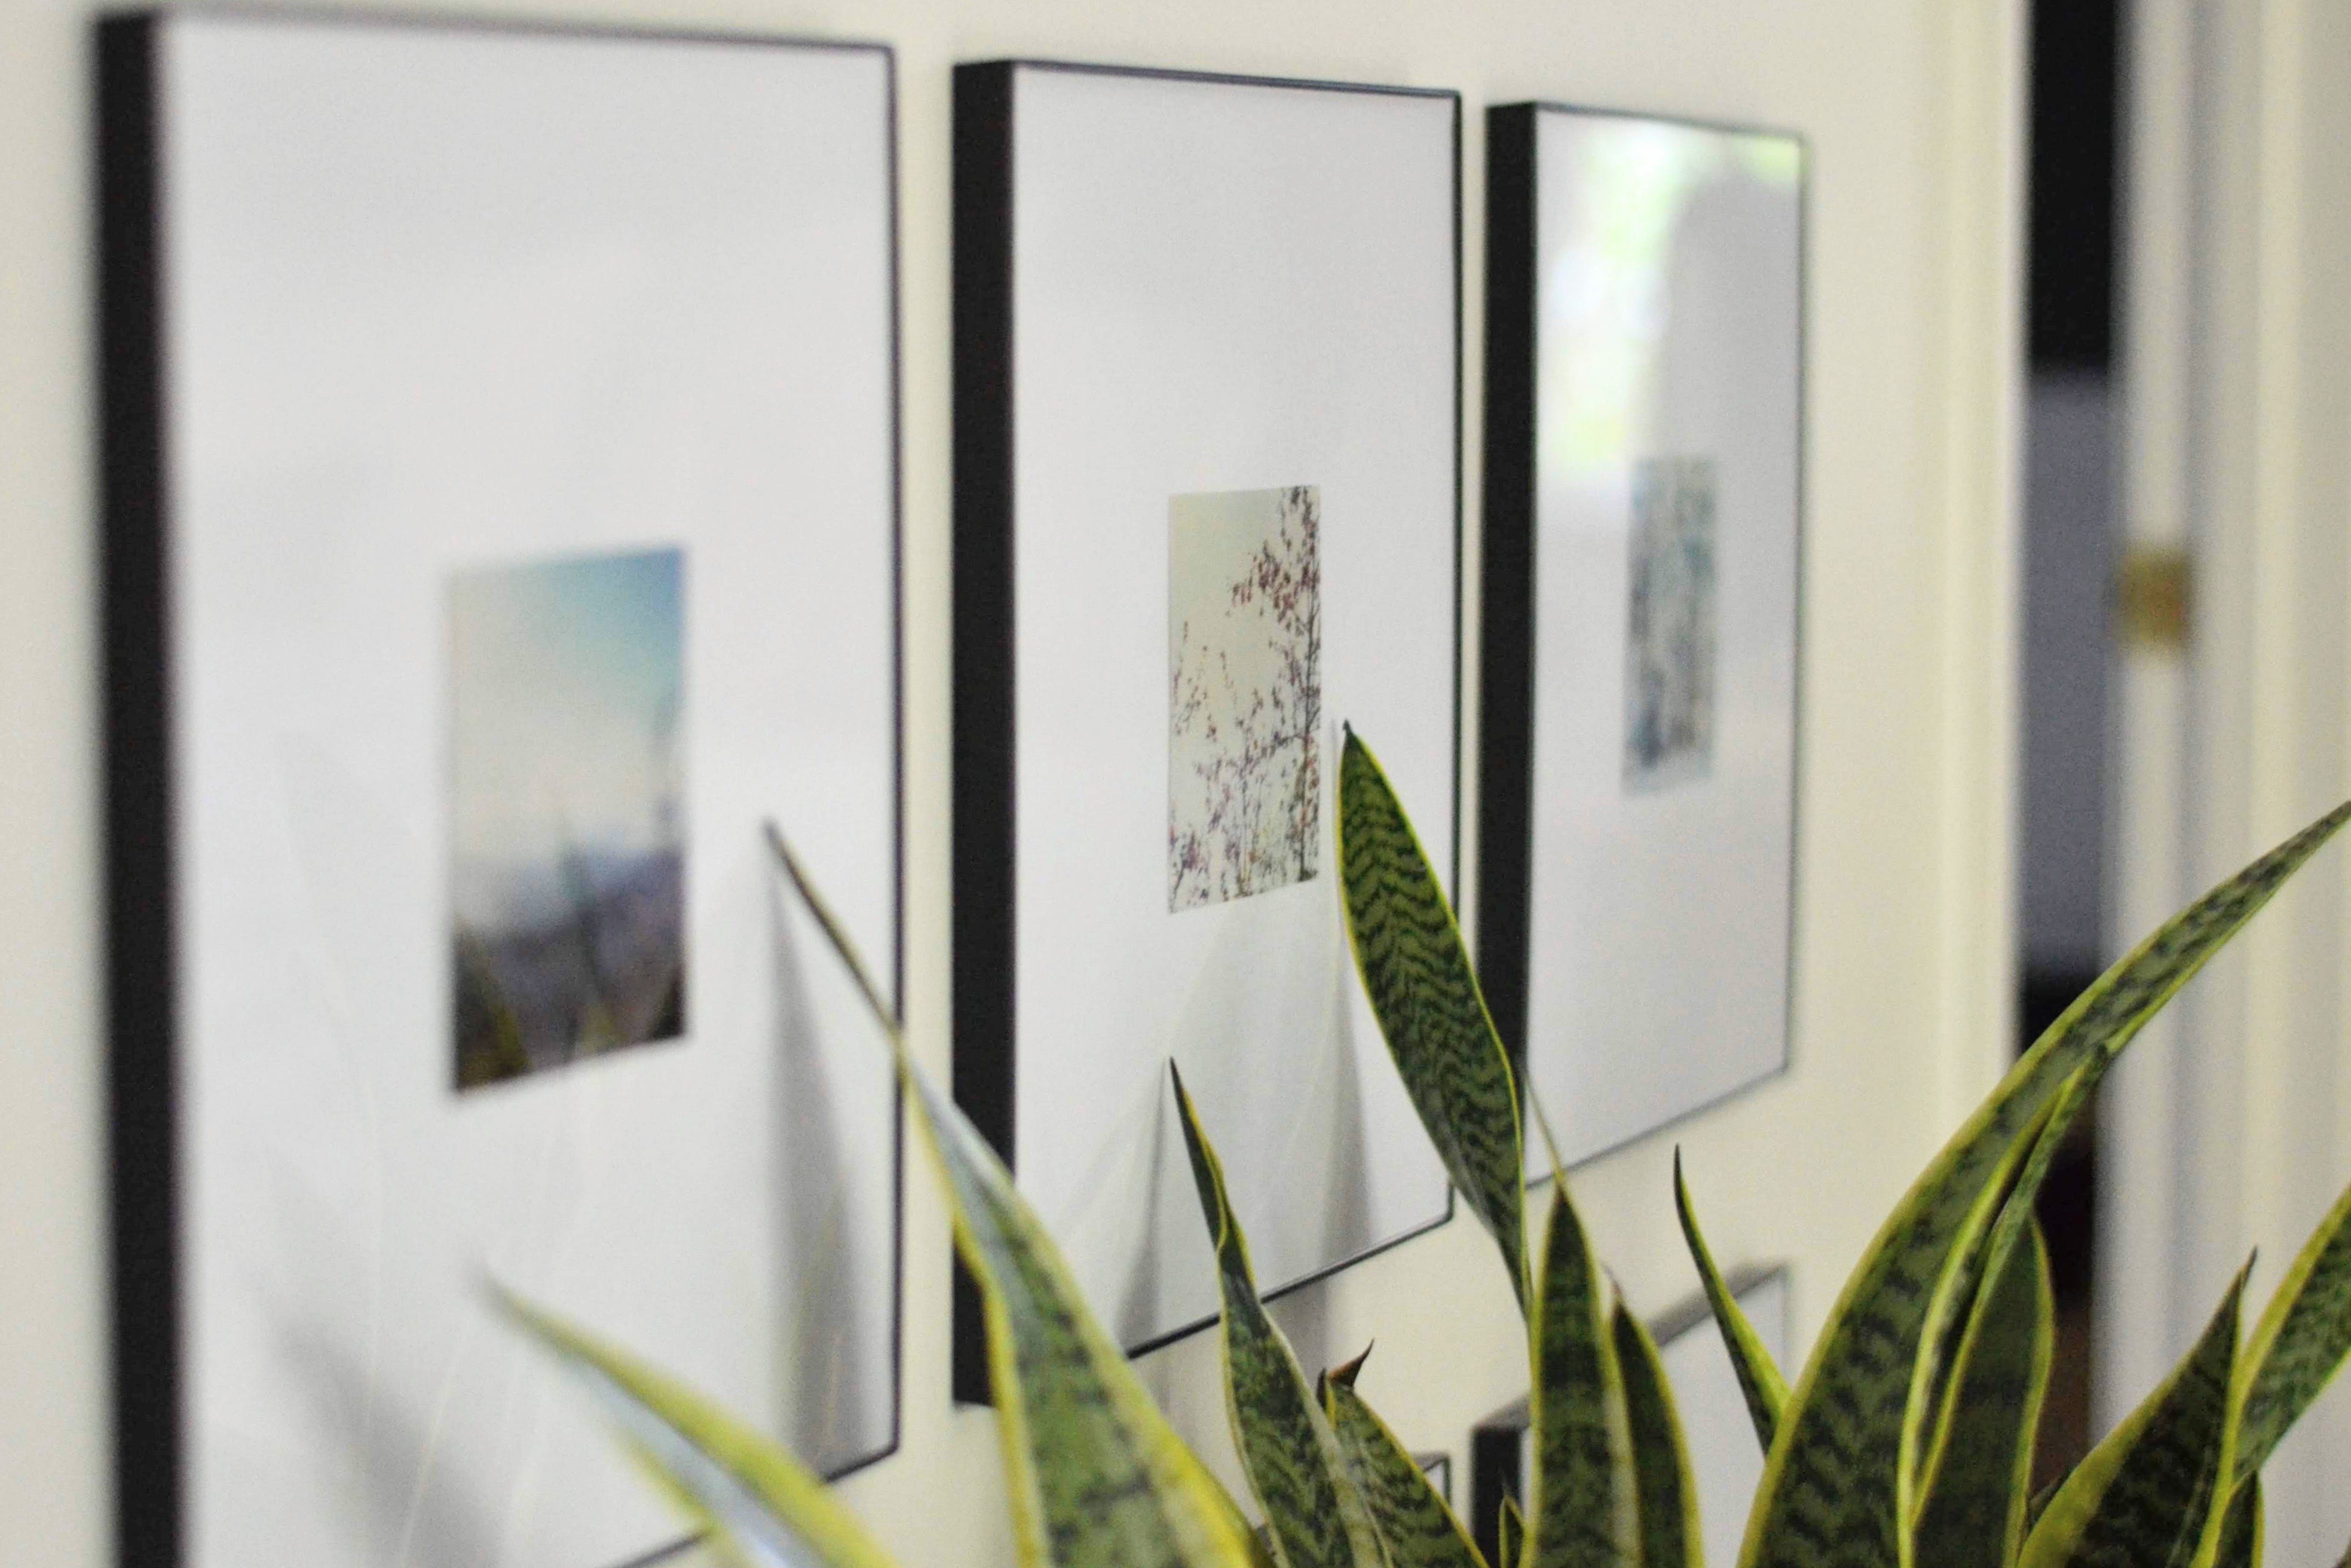
I just love the artistic impact this huge installation makes, and it has such meaning and so many memories attached. What do you find yourself snapping pics of? What wall in your home needs a little bit of love?
