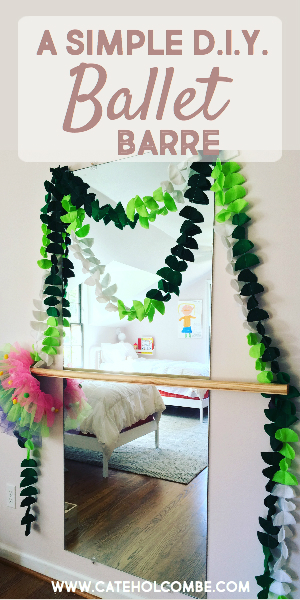
This is such a simple project, and one you can do very inexpensively, I just had to share. Do you have a ballerina in your home? I have two little girls who both take ballet lessons and love to flit around in ballet costumes. For E’s birthday a couple of years ago, we surprised her with her very own DIY ballet barre.
I will say that there are specific recommendations for sizing and spacing for ballet barres that I am not considering. This project is not for professional applications, but for little girls who like to dress up and play.
We had recently renovated our home, and found ourselves with several large builder-grade mirrors (sheet mirrors) no longer in use. If you don’t have one of these hanging around, hop on over to Craigslist or your neighborhood Facebook group and someone is mid-renovation and likely trying to get rid of one. (Seems that no one wants to trash a mirror and risk breaking it. Ha!)
You’ll just need a few more supplies:
The process is quite simple.
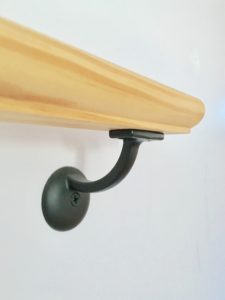
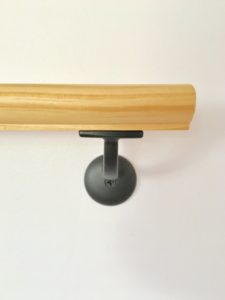
First I determined a general location for the mirror. I propped the mirror against the wall, then used a stud finder to locate and mark the closest studs on the outside of the mirror. You definitely want to install the Handrail Brackets in studs. The mirror itself can be mounted using anchors if no studs are available. But the bar will need to potentially hold a lot of weight. My girls can be monkeys, and often hang from the bar.
Once I knew where those studs for the handrails were located, I measured the distance and cut the handrail to be about 8″ longer. This allows a bit of overhang on each side.
Now that you know where the handrail brackets will be, you can center the mirror and install the mirror clips by following the package directions. The ones I linked to above are great because the upper clips are spring loaded to allow for easy installation.
With the mirror in place, you can mount the handrail to the brackets, and you’re all done! Before installing the handrail, you can sand and stain it or even paint it. I opted to simply sand, then oil it.
There you have it, friends! A quick and easy DIY for the tiny dancer in your life.
(affiliate links above)


