We’re just a few days away from the “big day”, and I’m really trying to soak it all in. I recently read a blog post that prompted a lil’ shift in my perspective on Christmas. Yes, I LOVE this season, and every little tradition and celebration throughout it.
Buuuut, there is always a kind of let down or disappointment about halfway through the 25th, as the day’s activities start winding down…all of the food has been eaten, the presents have been opened. All of the “Christmas Bucket List” items have been checked off (we don’t actually do this, but you know what I mean).
This feels so obvious as I type it out, but that post really helped me see this season as just that: a season. Not a day. If I can truly value and enjoy each little bit of it, rather than counting down to one particular day or event, perhaps that psychological hangover will be lessened. Maybe?
So next year I’ll be nixing our Advent calendar countdown. That tradition seems to set the expectations so high for that one day (for the adults and the children in our family). Instead, I’ll do my best to emphasize the joy and celebration in each of the little events and traditions along the way.
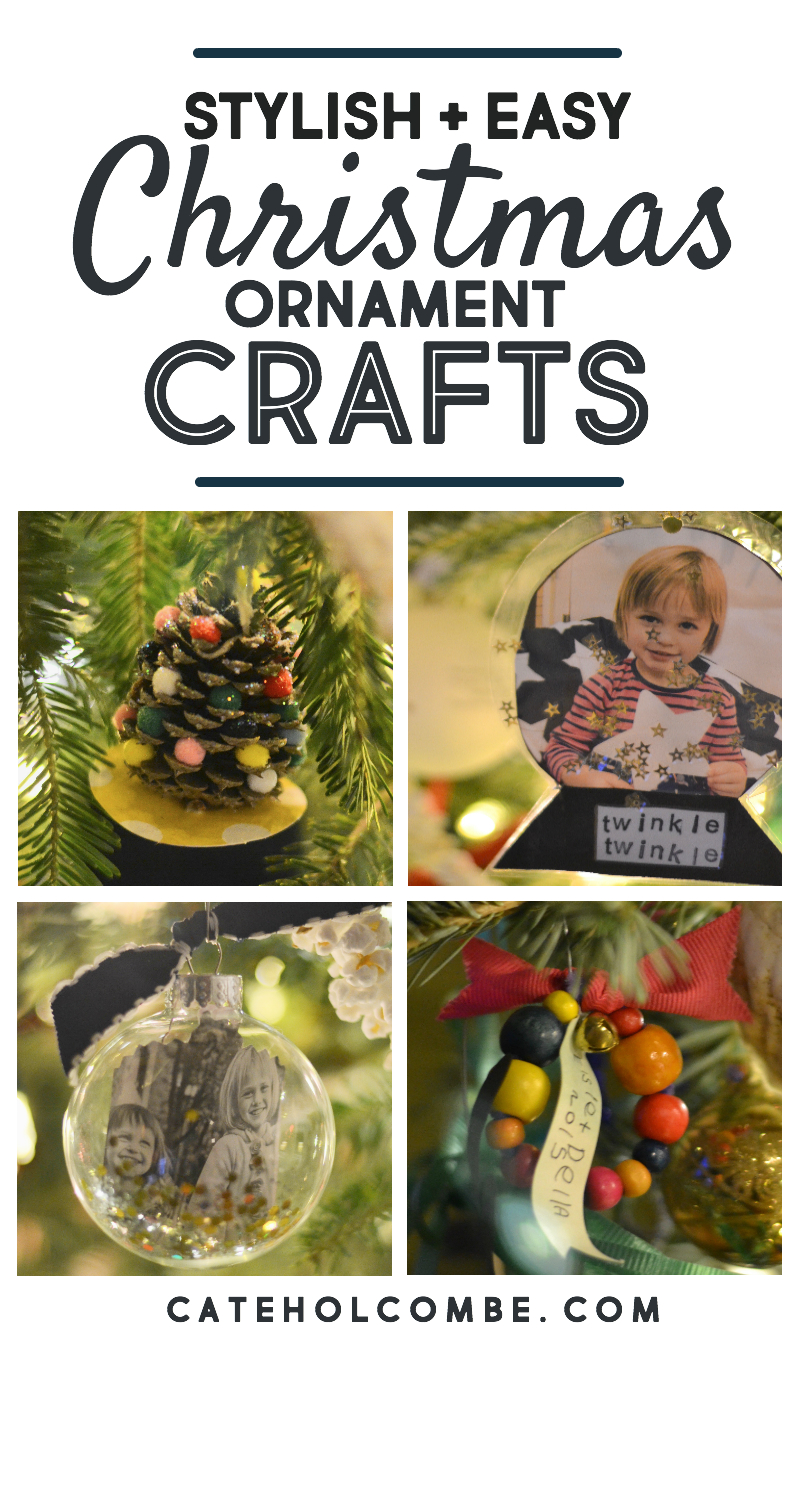
Enough of that mumbo jumbo…let me get to the point of this post. Years ago I started a tradition of having the girls make handmade ornaments to gift to family (and add to our own tree). My criteria is that the craft be simple and halfway stylish. There are lots of ornament craft ideas out there, but I wanted to share our little curated collection, as it might inspire you.
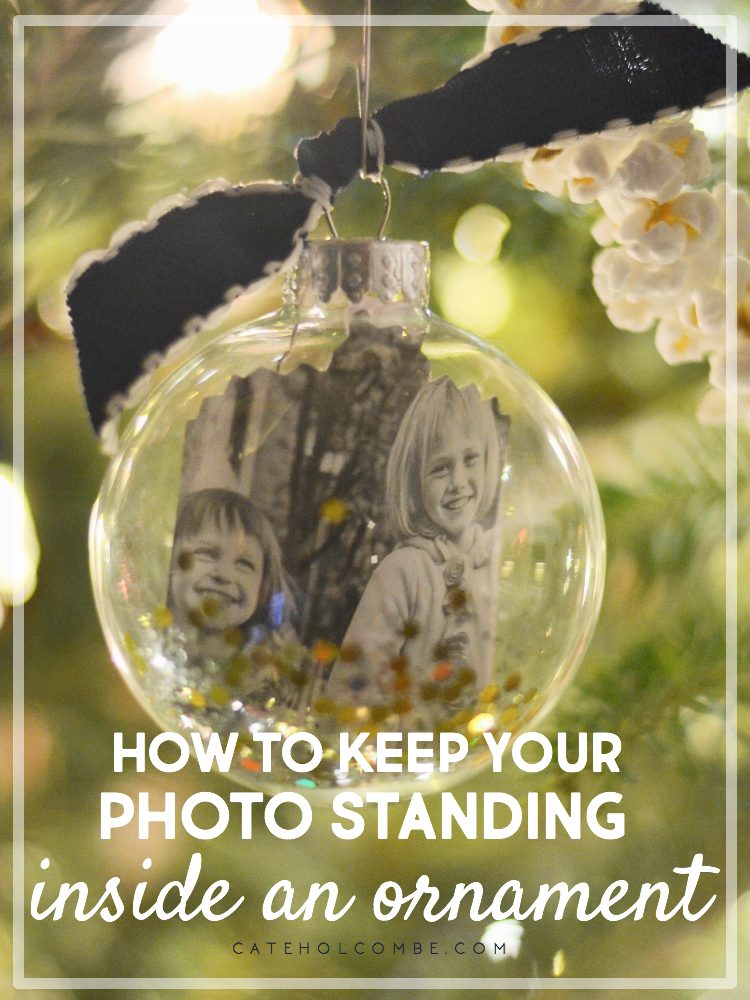
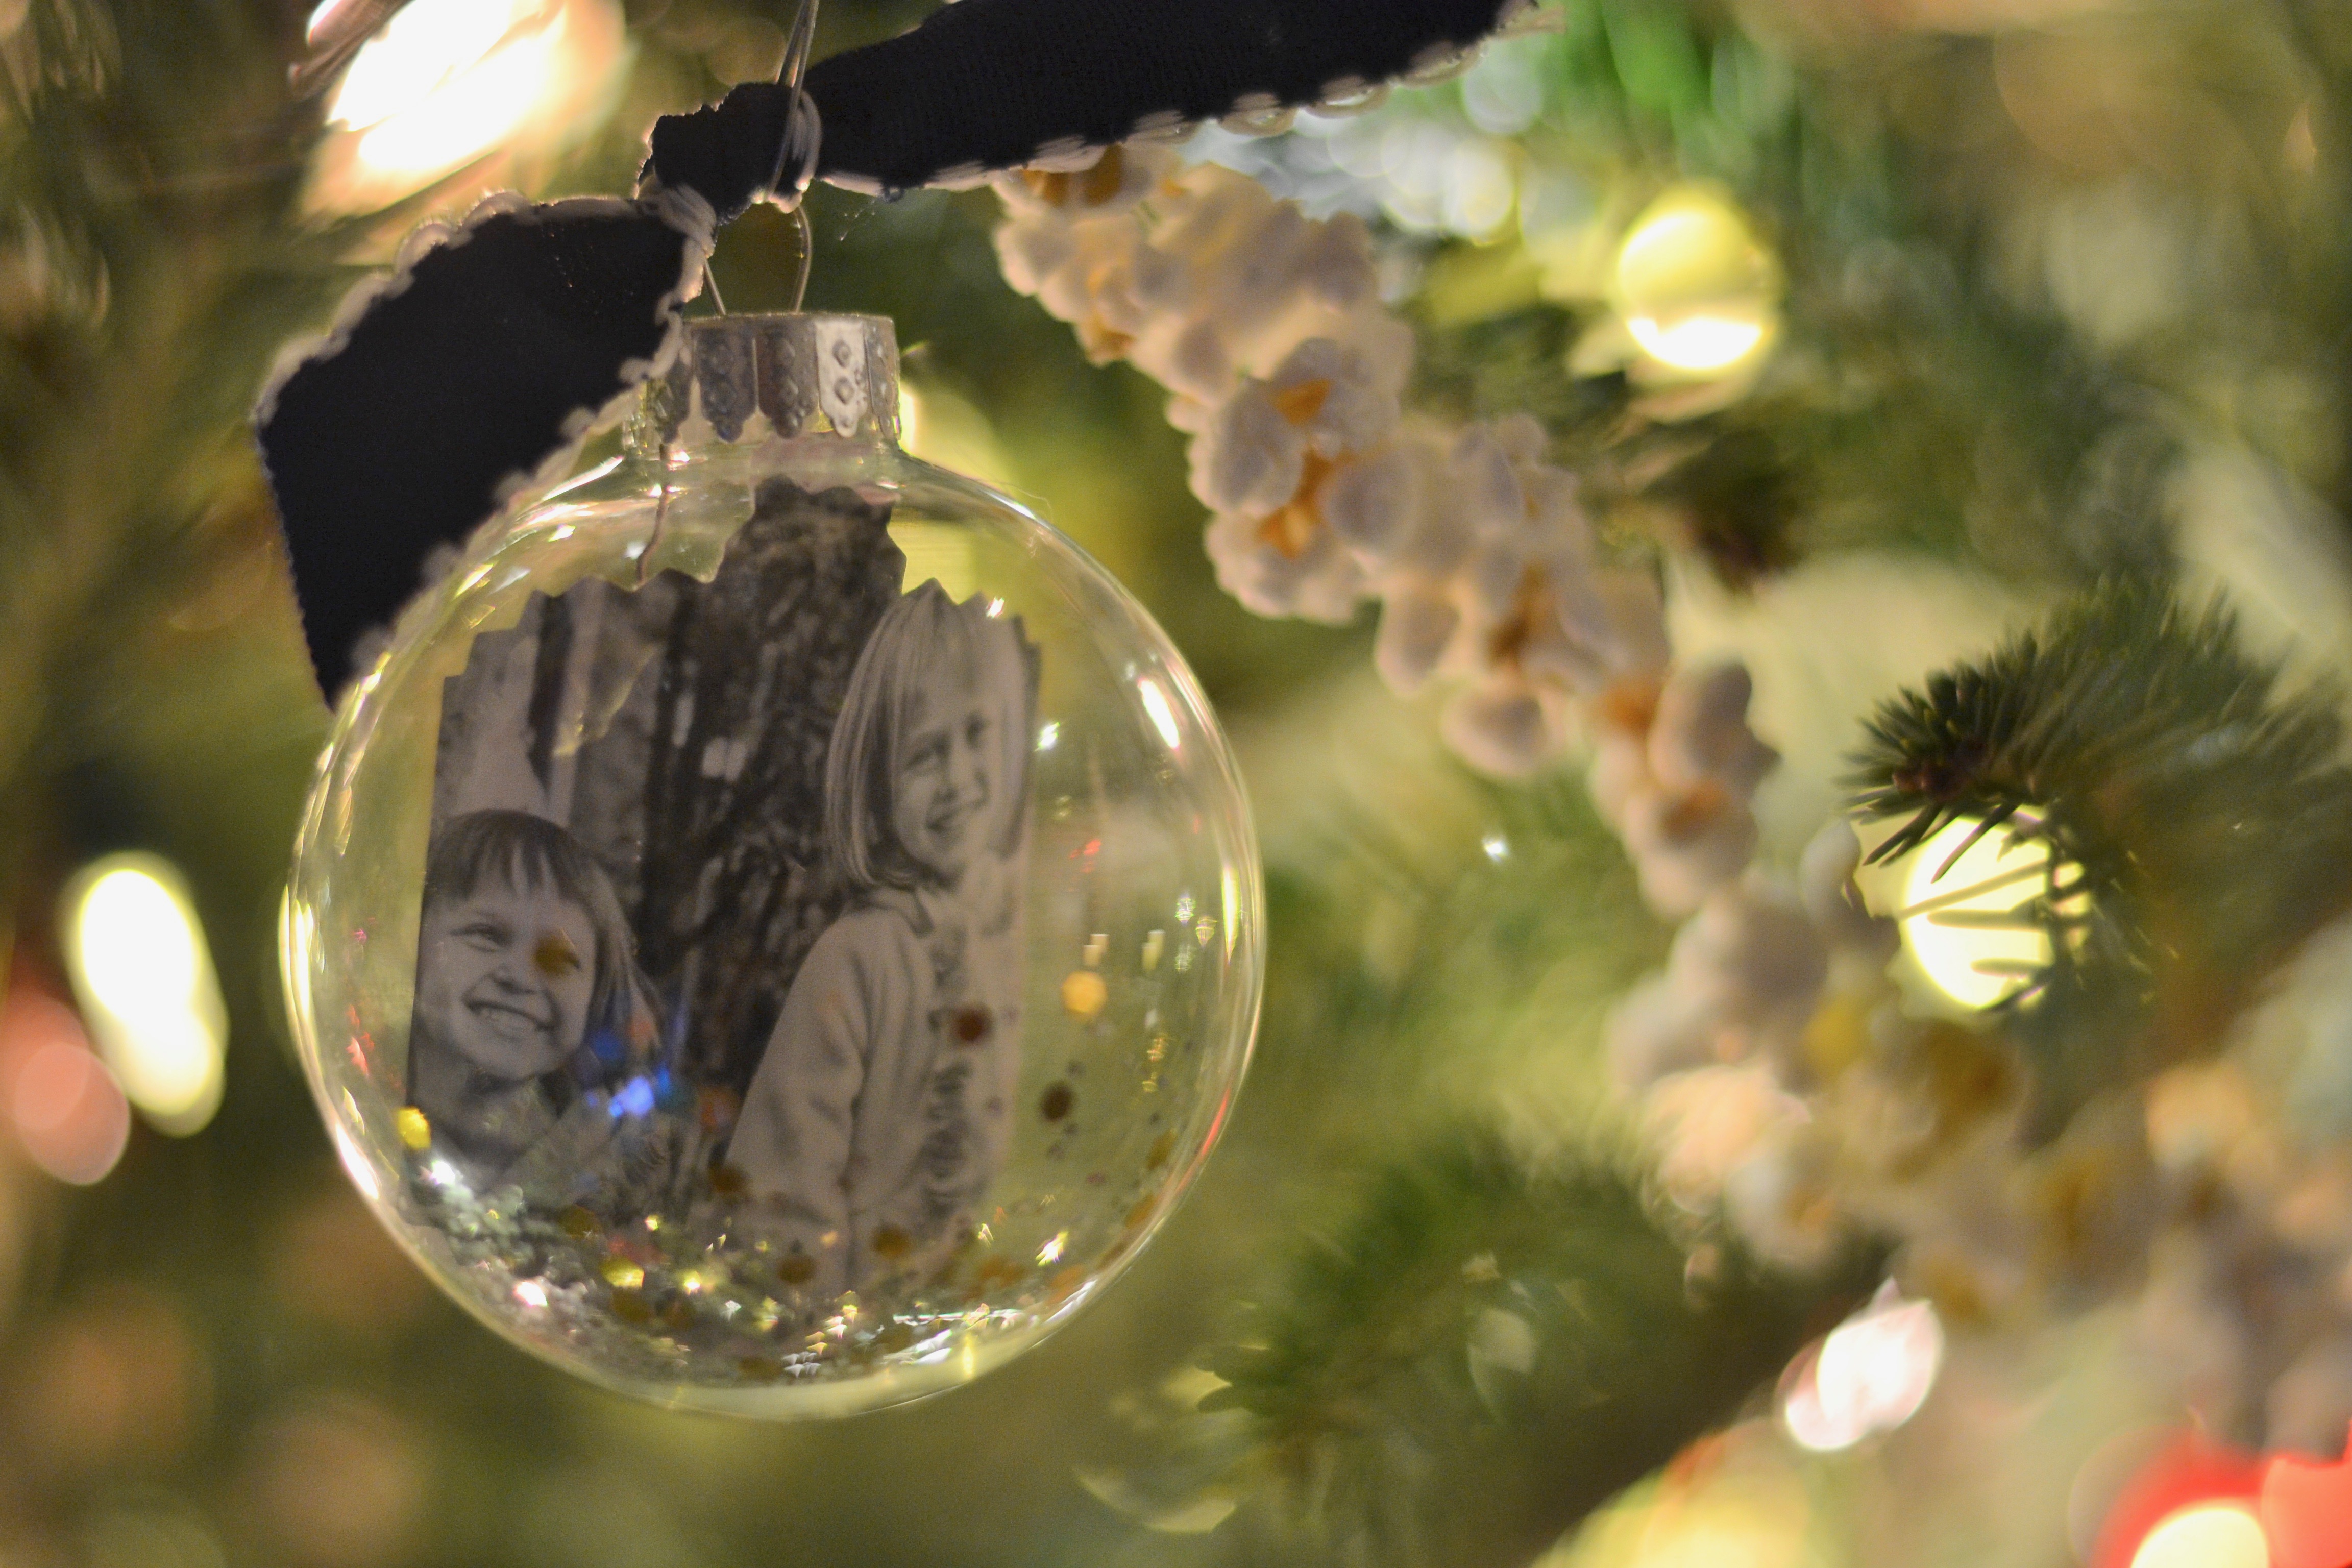
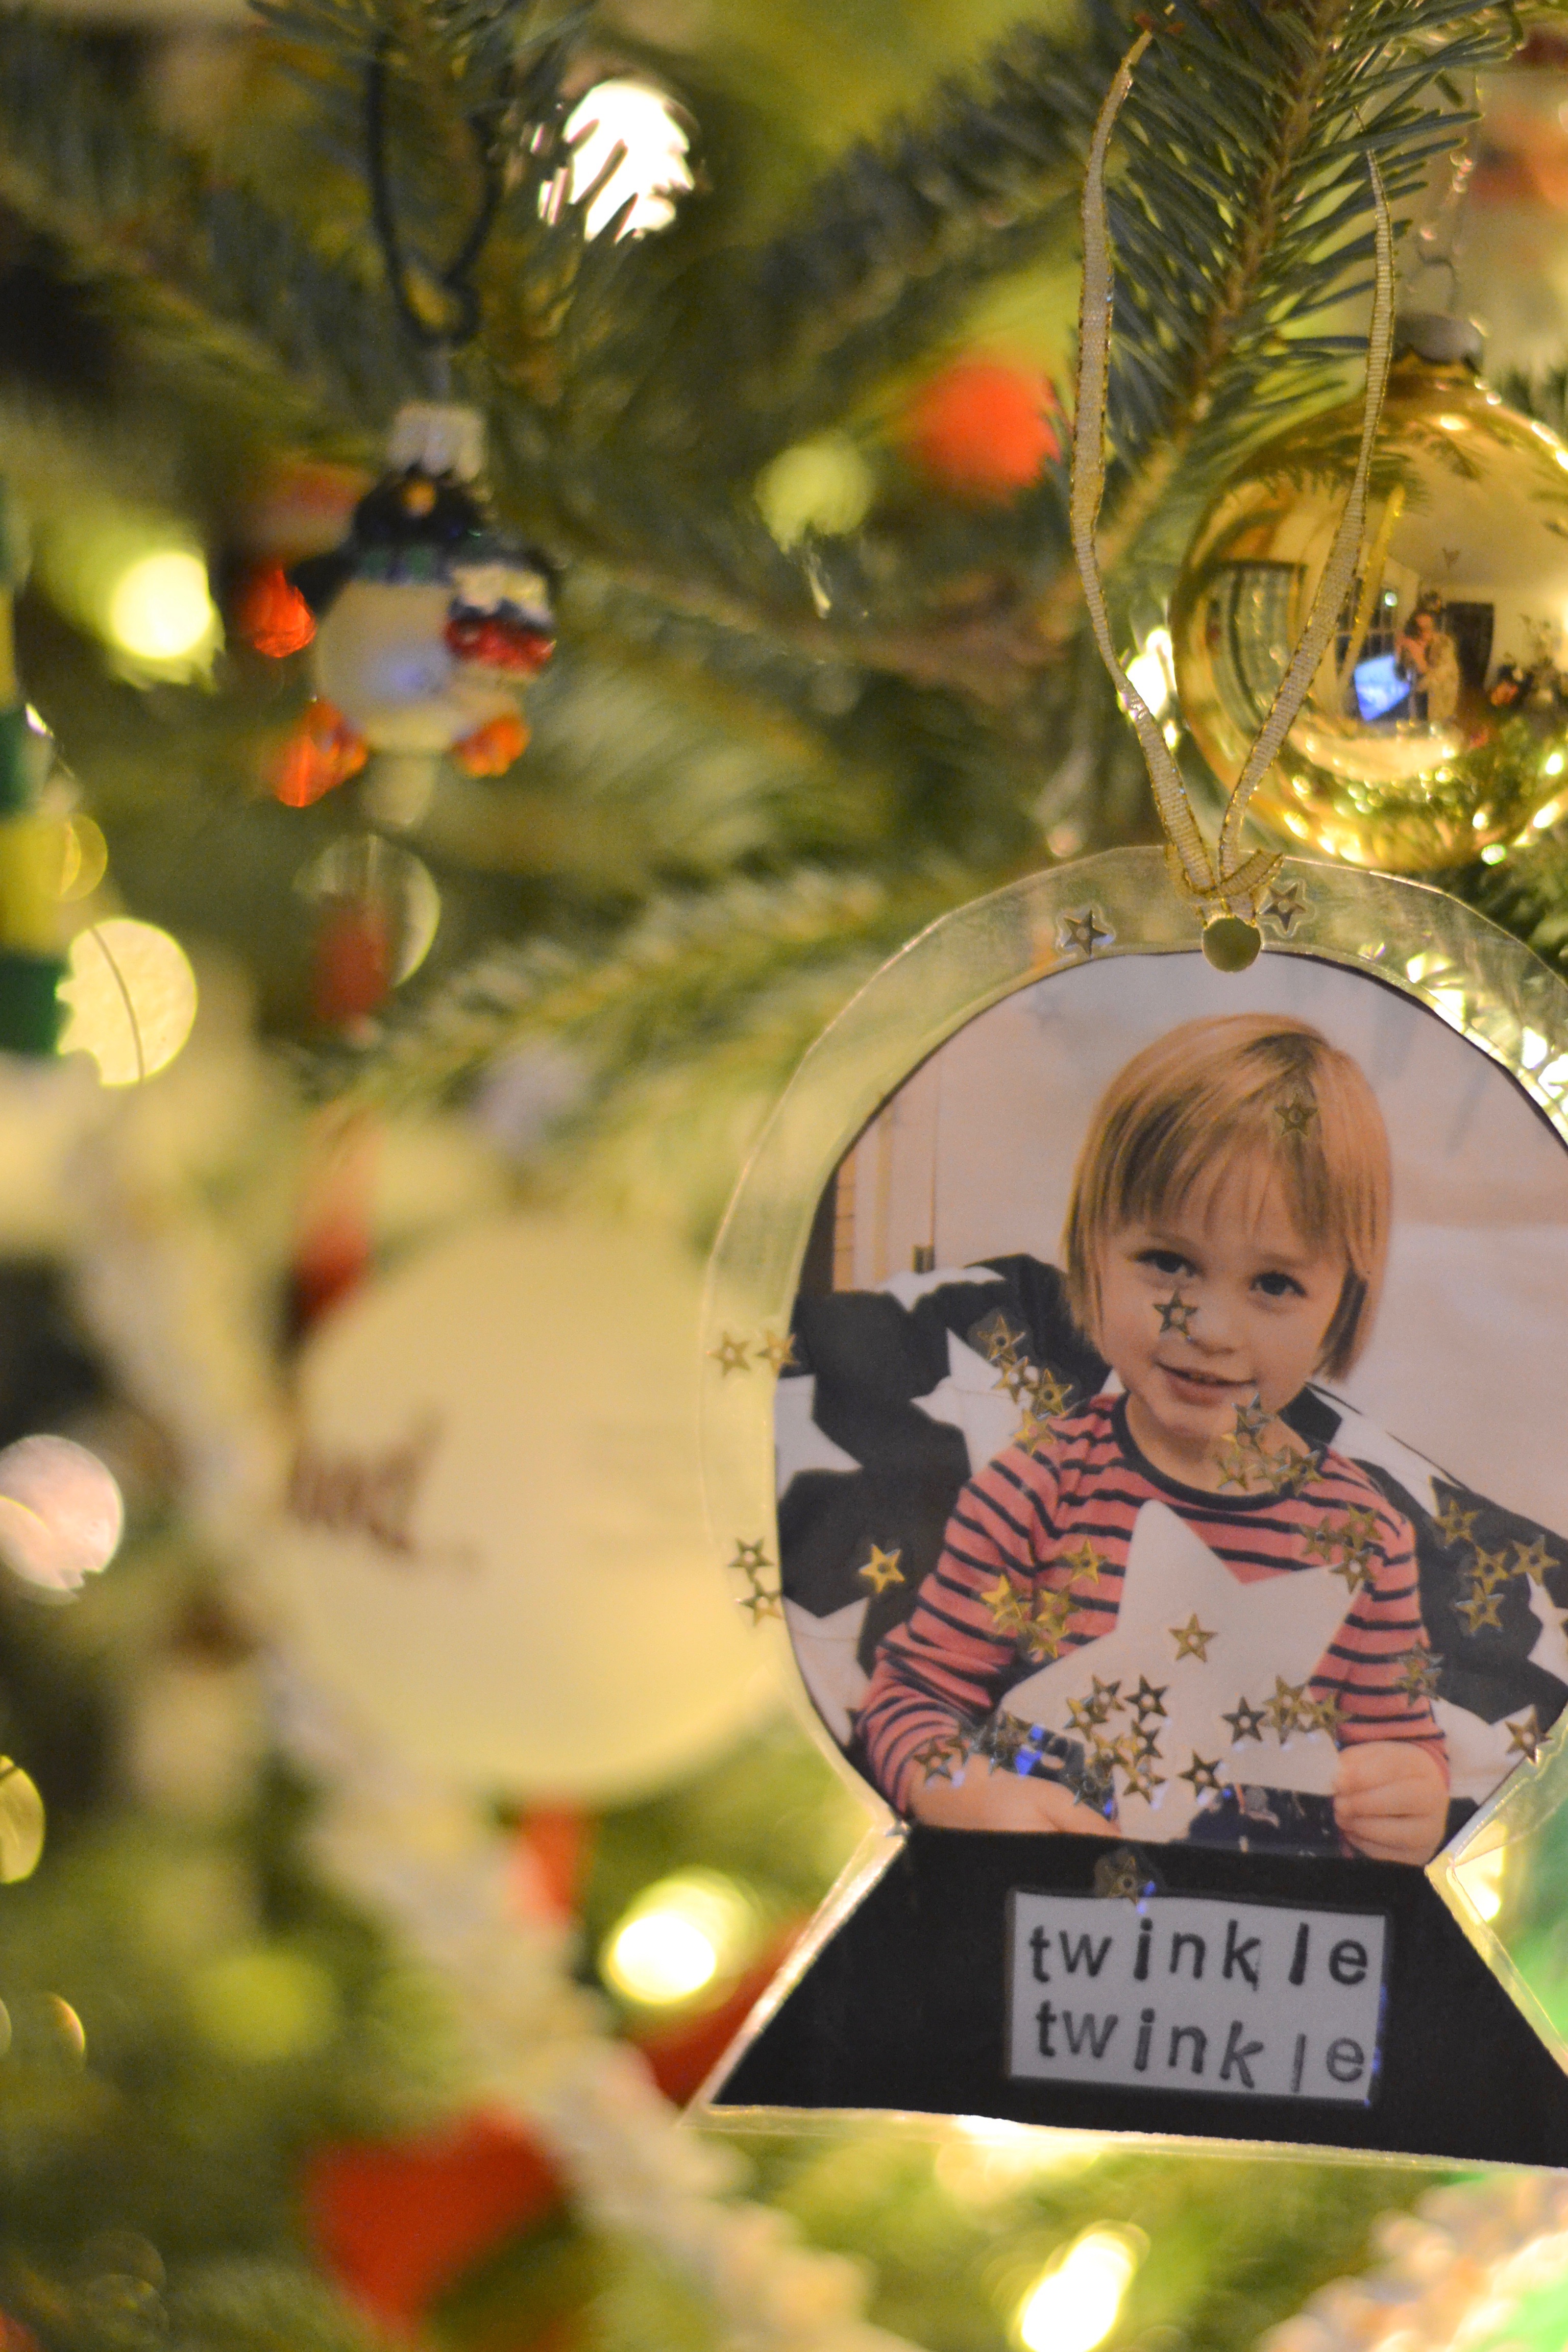
I’ll start off with this year’s ornament. This is just about the simplest “craft”, but I do have some tips for you. I purchased a set of fillable ornaments. These come in glass or plastic, and the top metal piece slides out so you can fill ‘er up with whatever you please. I printed wallet size photos of the girls, then cut them to fit. You can roll them onto a pencil so they slide easily into the ornament, then use the eraser end of the pencil to nudge them around inside.
 Now, this took a bit of trial and error. I tried a few different strategies to keep the photo upright, and th
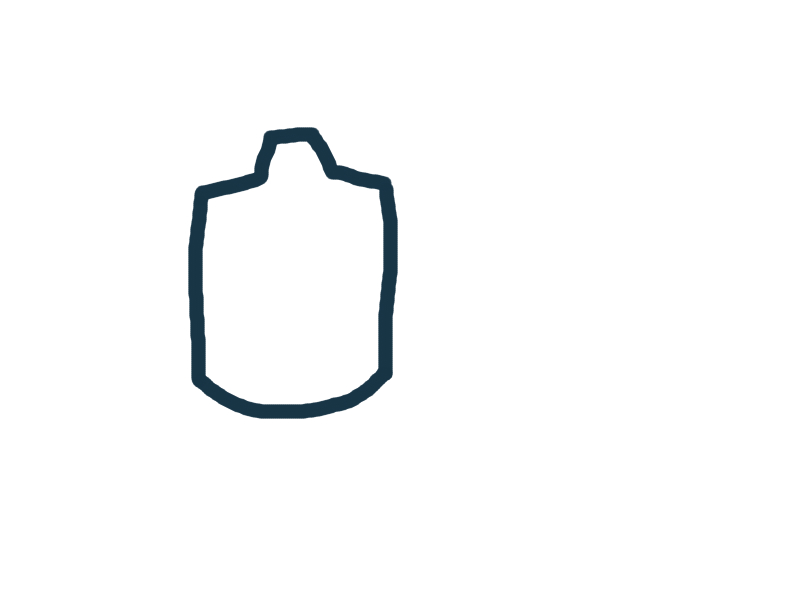 is is the one that worked: cut the photo to roughly the height of the inside of the ornament, curve the bottom and leave a bump in the center of the top that fits into the “neck” of the ornament. (Maybe practice with scrap paper to create a template before you cut up the photos.) The illustration to the right shows the approximate shape.
Then you can simply add some chunky glitter or tiny sparkly pom poms. Tie a pretty ribbon on top, and you’re done! (Fine glitter will coat the inside of the glass, and block any view of other stuff inside.)
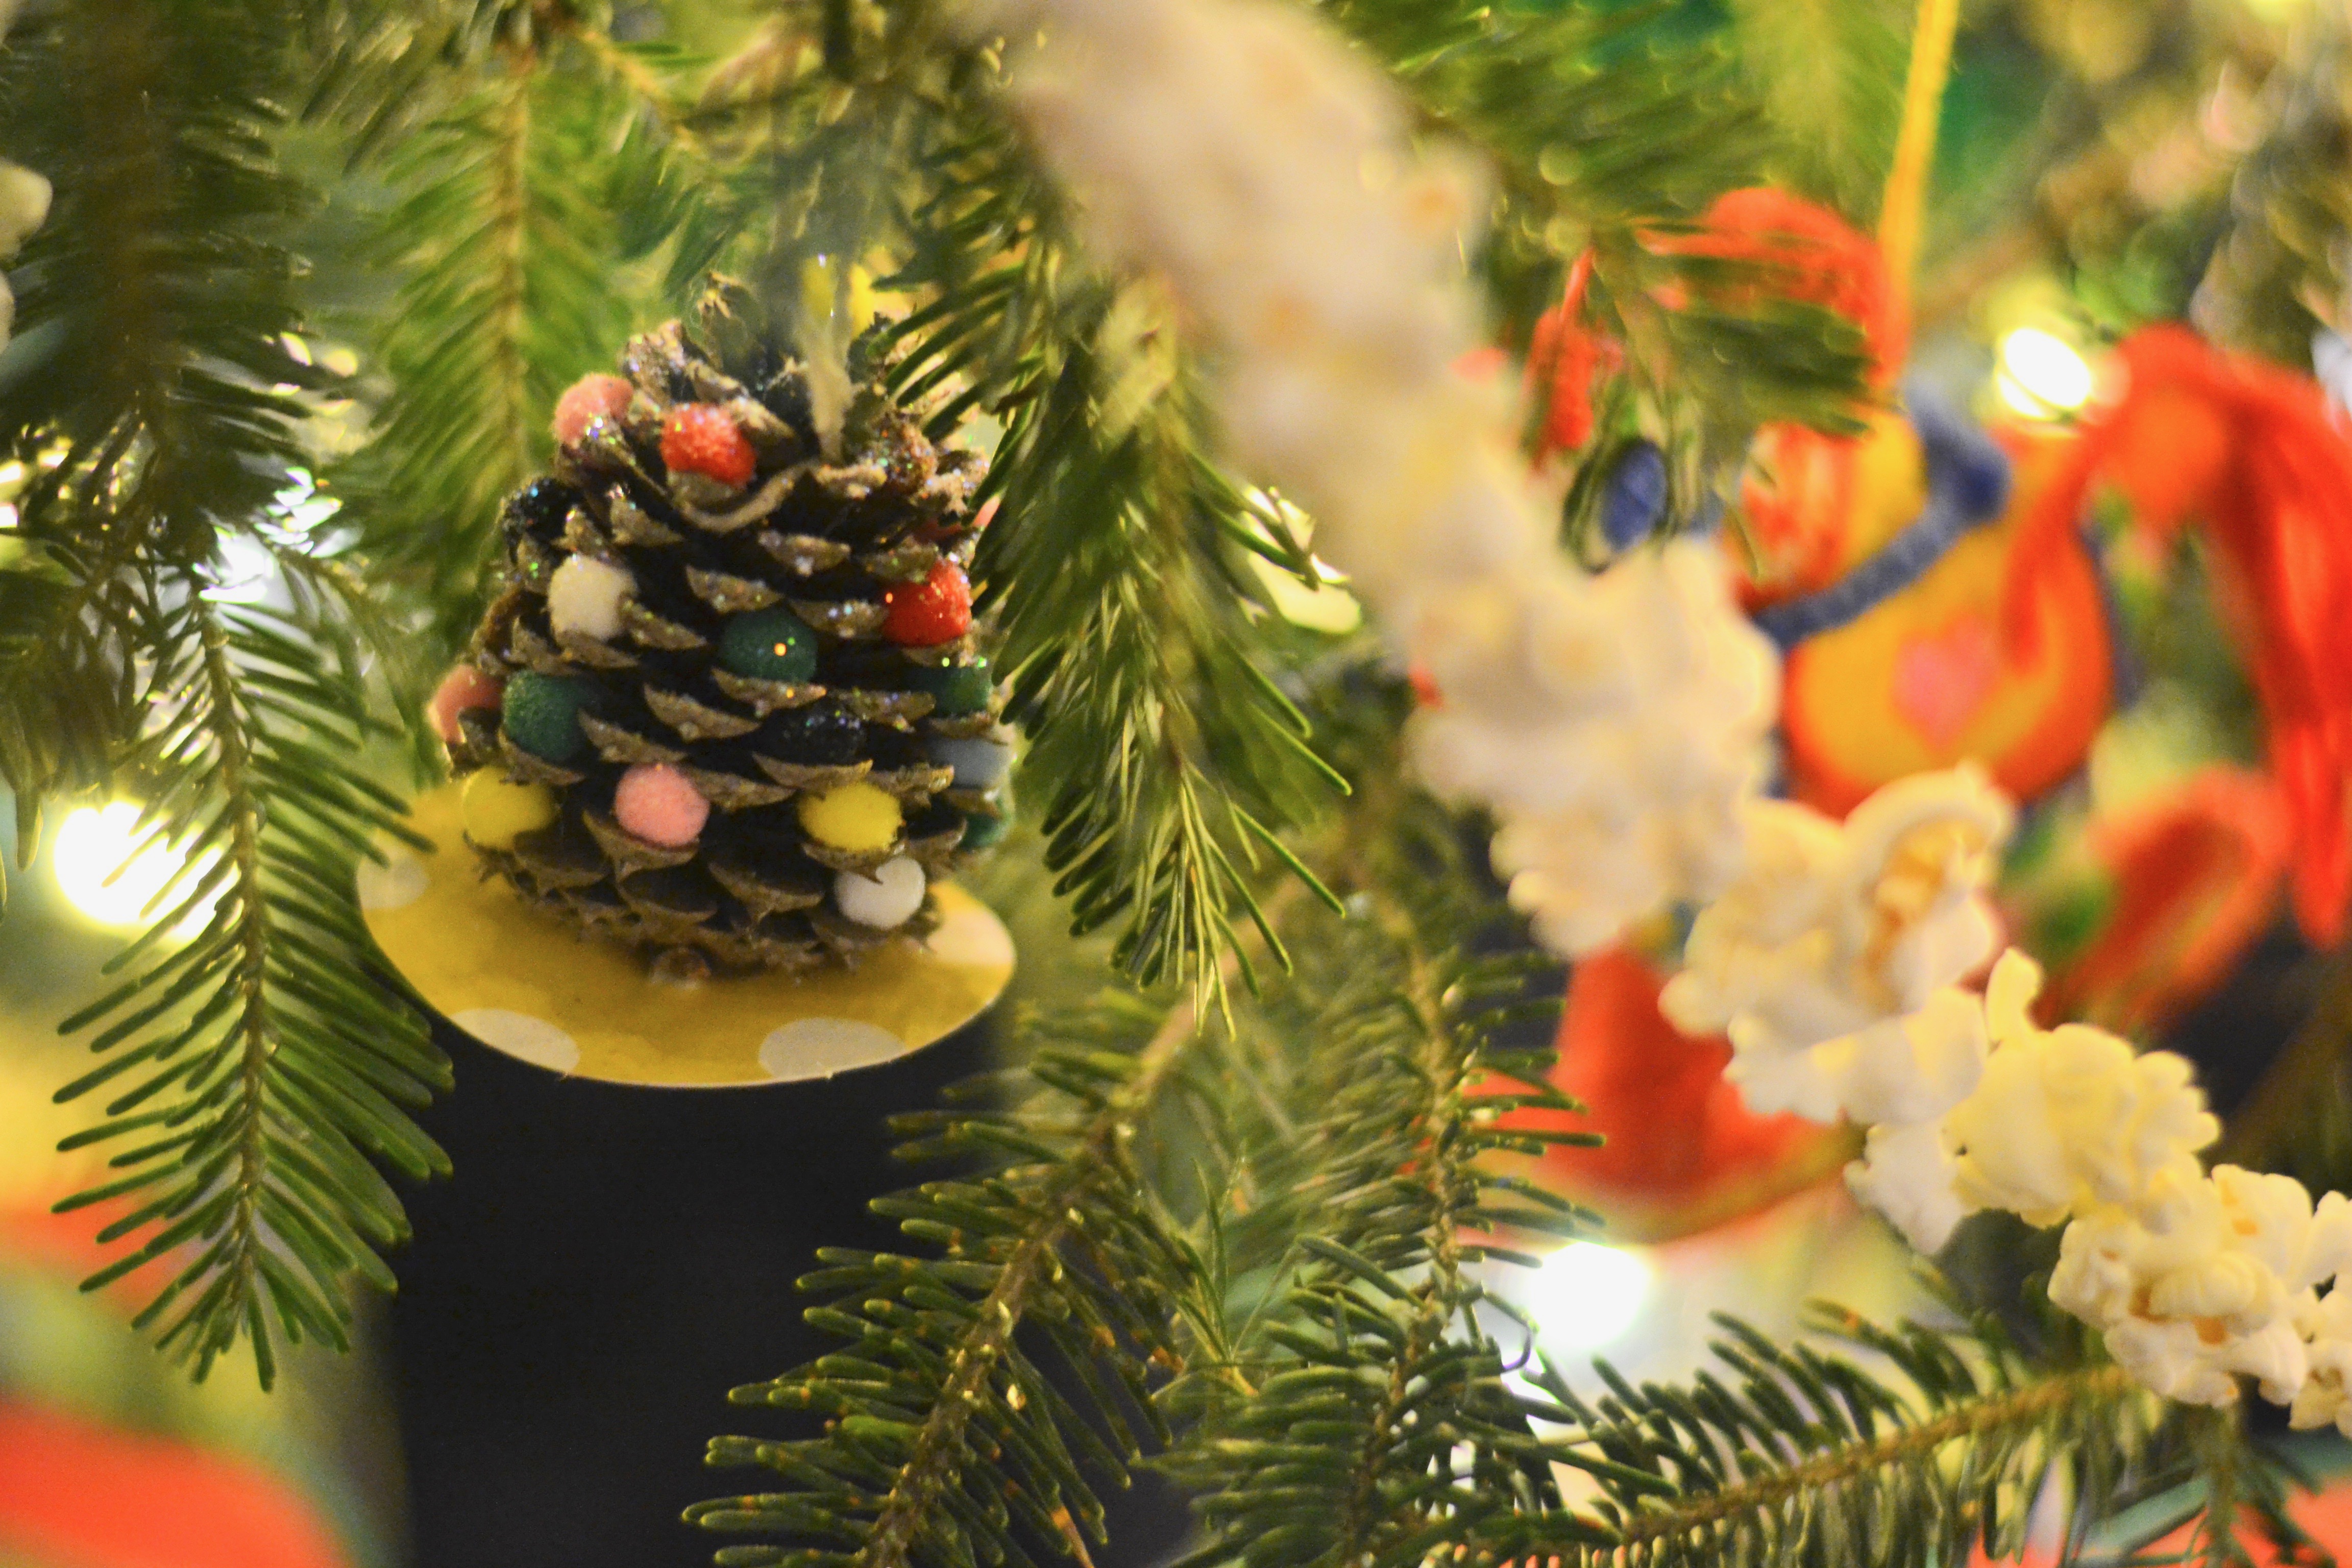
Another year we collected small pine cones, glued in little pompoms, sprinkled on some glitter “snow”, and glued them onto a little round “skirt” (scrapbook card stock cut into circles).
The one below is great for toddler/preschool age kiddos…as long as they can slide wooden beads onto pipe cleaners. Just twist the beaded pipe cleaner into a “wreath”, add a little bell and a ribbon. Super simple and quick: no dry-time with this one.
I do like to add either a photo or their handwriting to these ornaments. I have them write their names once, then I scan the image and print a bunch onto paper we can cut and add to the ornament.
The next one came home from a particularly creative and amazing teacher (hey Miss Kate!). Print a favorite photo, cut it into a circle, add a paper “base”, then sprinkle on some of that chunky glitter or confetti, laminate it, and you have a snow globe! One of my faves!
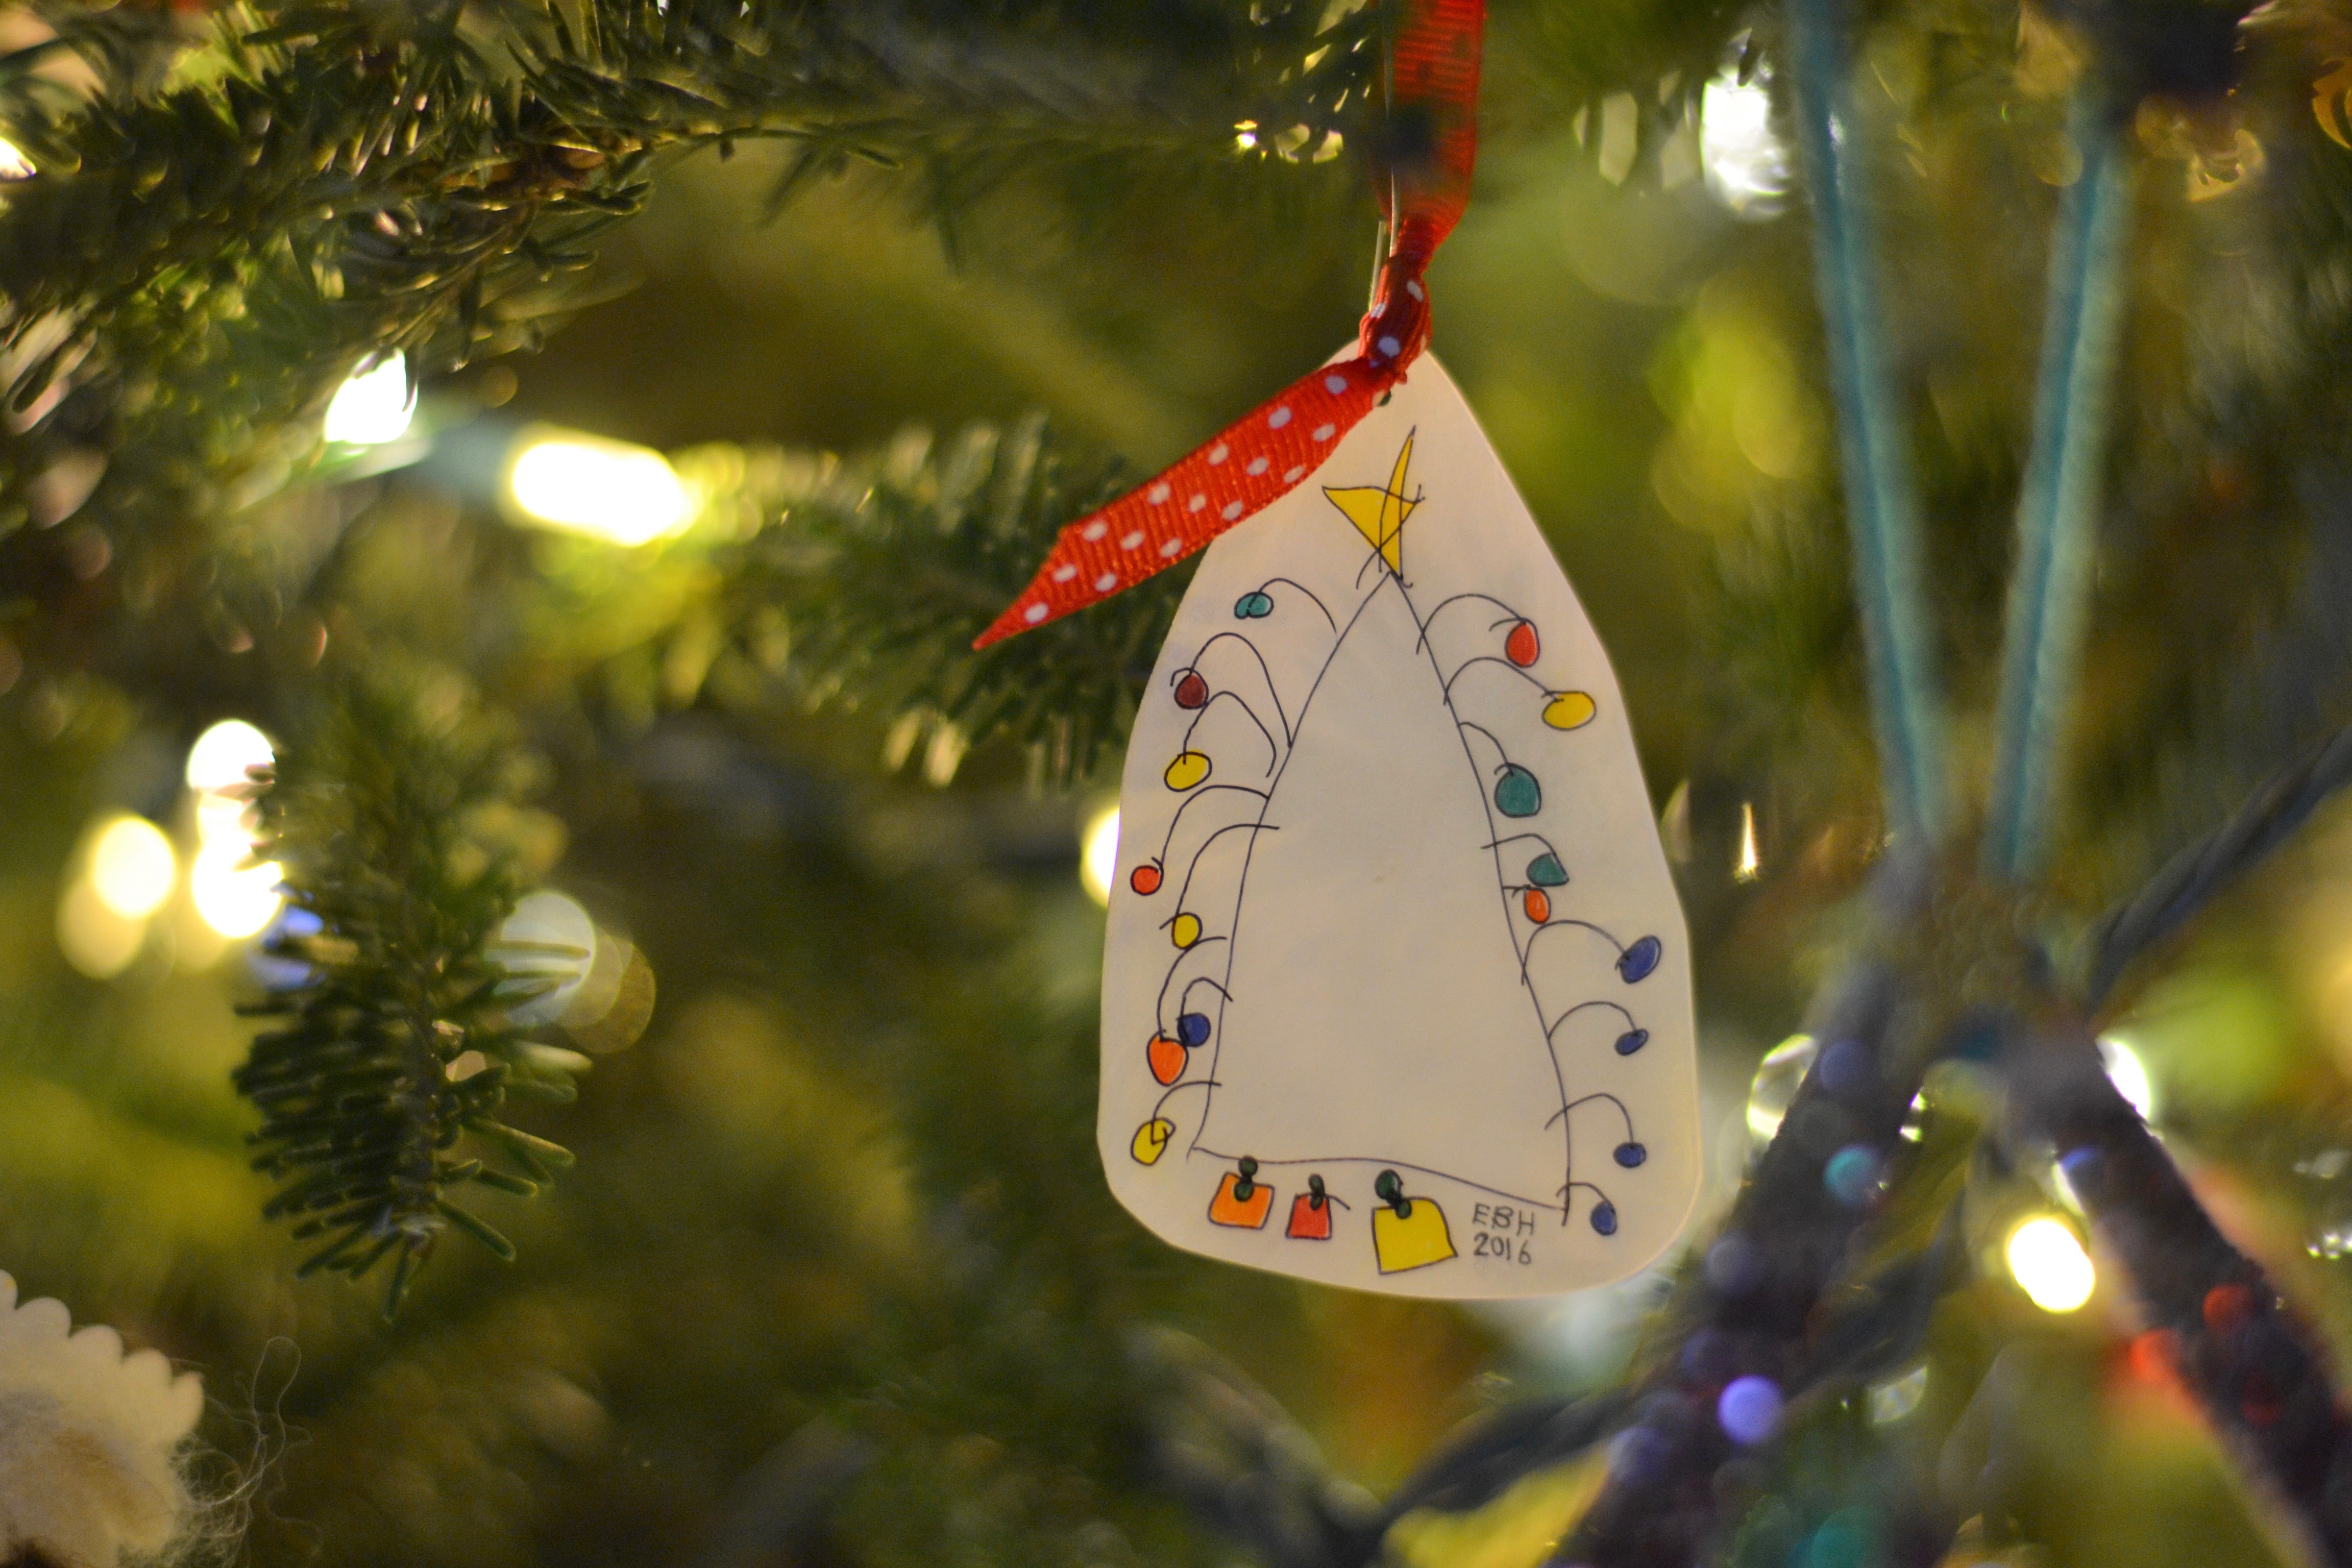
Do y’all remember Shrinky Dinks? You can pick a pack up at any craft store. You simply use colored pencils or permanent markers to draw or trace anything onto the sheet of plastic. Then cut out your shape, punch a hole if you’d like, and bake it according to the directions. You end up with a shrunken, stiff plastic version of your drawing.
I traced this sweet Christmas tree so I can always remember her quirky little take on a tree. You could pick any favorite drawing to do this with: a prized self portrait or family portrait would be adorable!
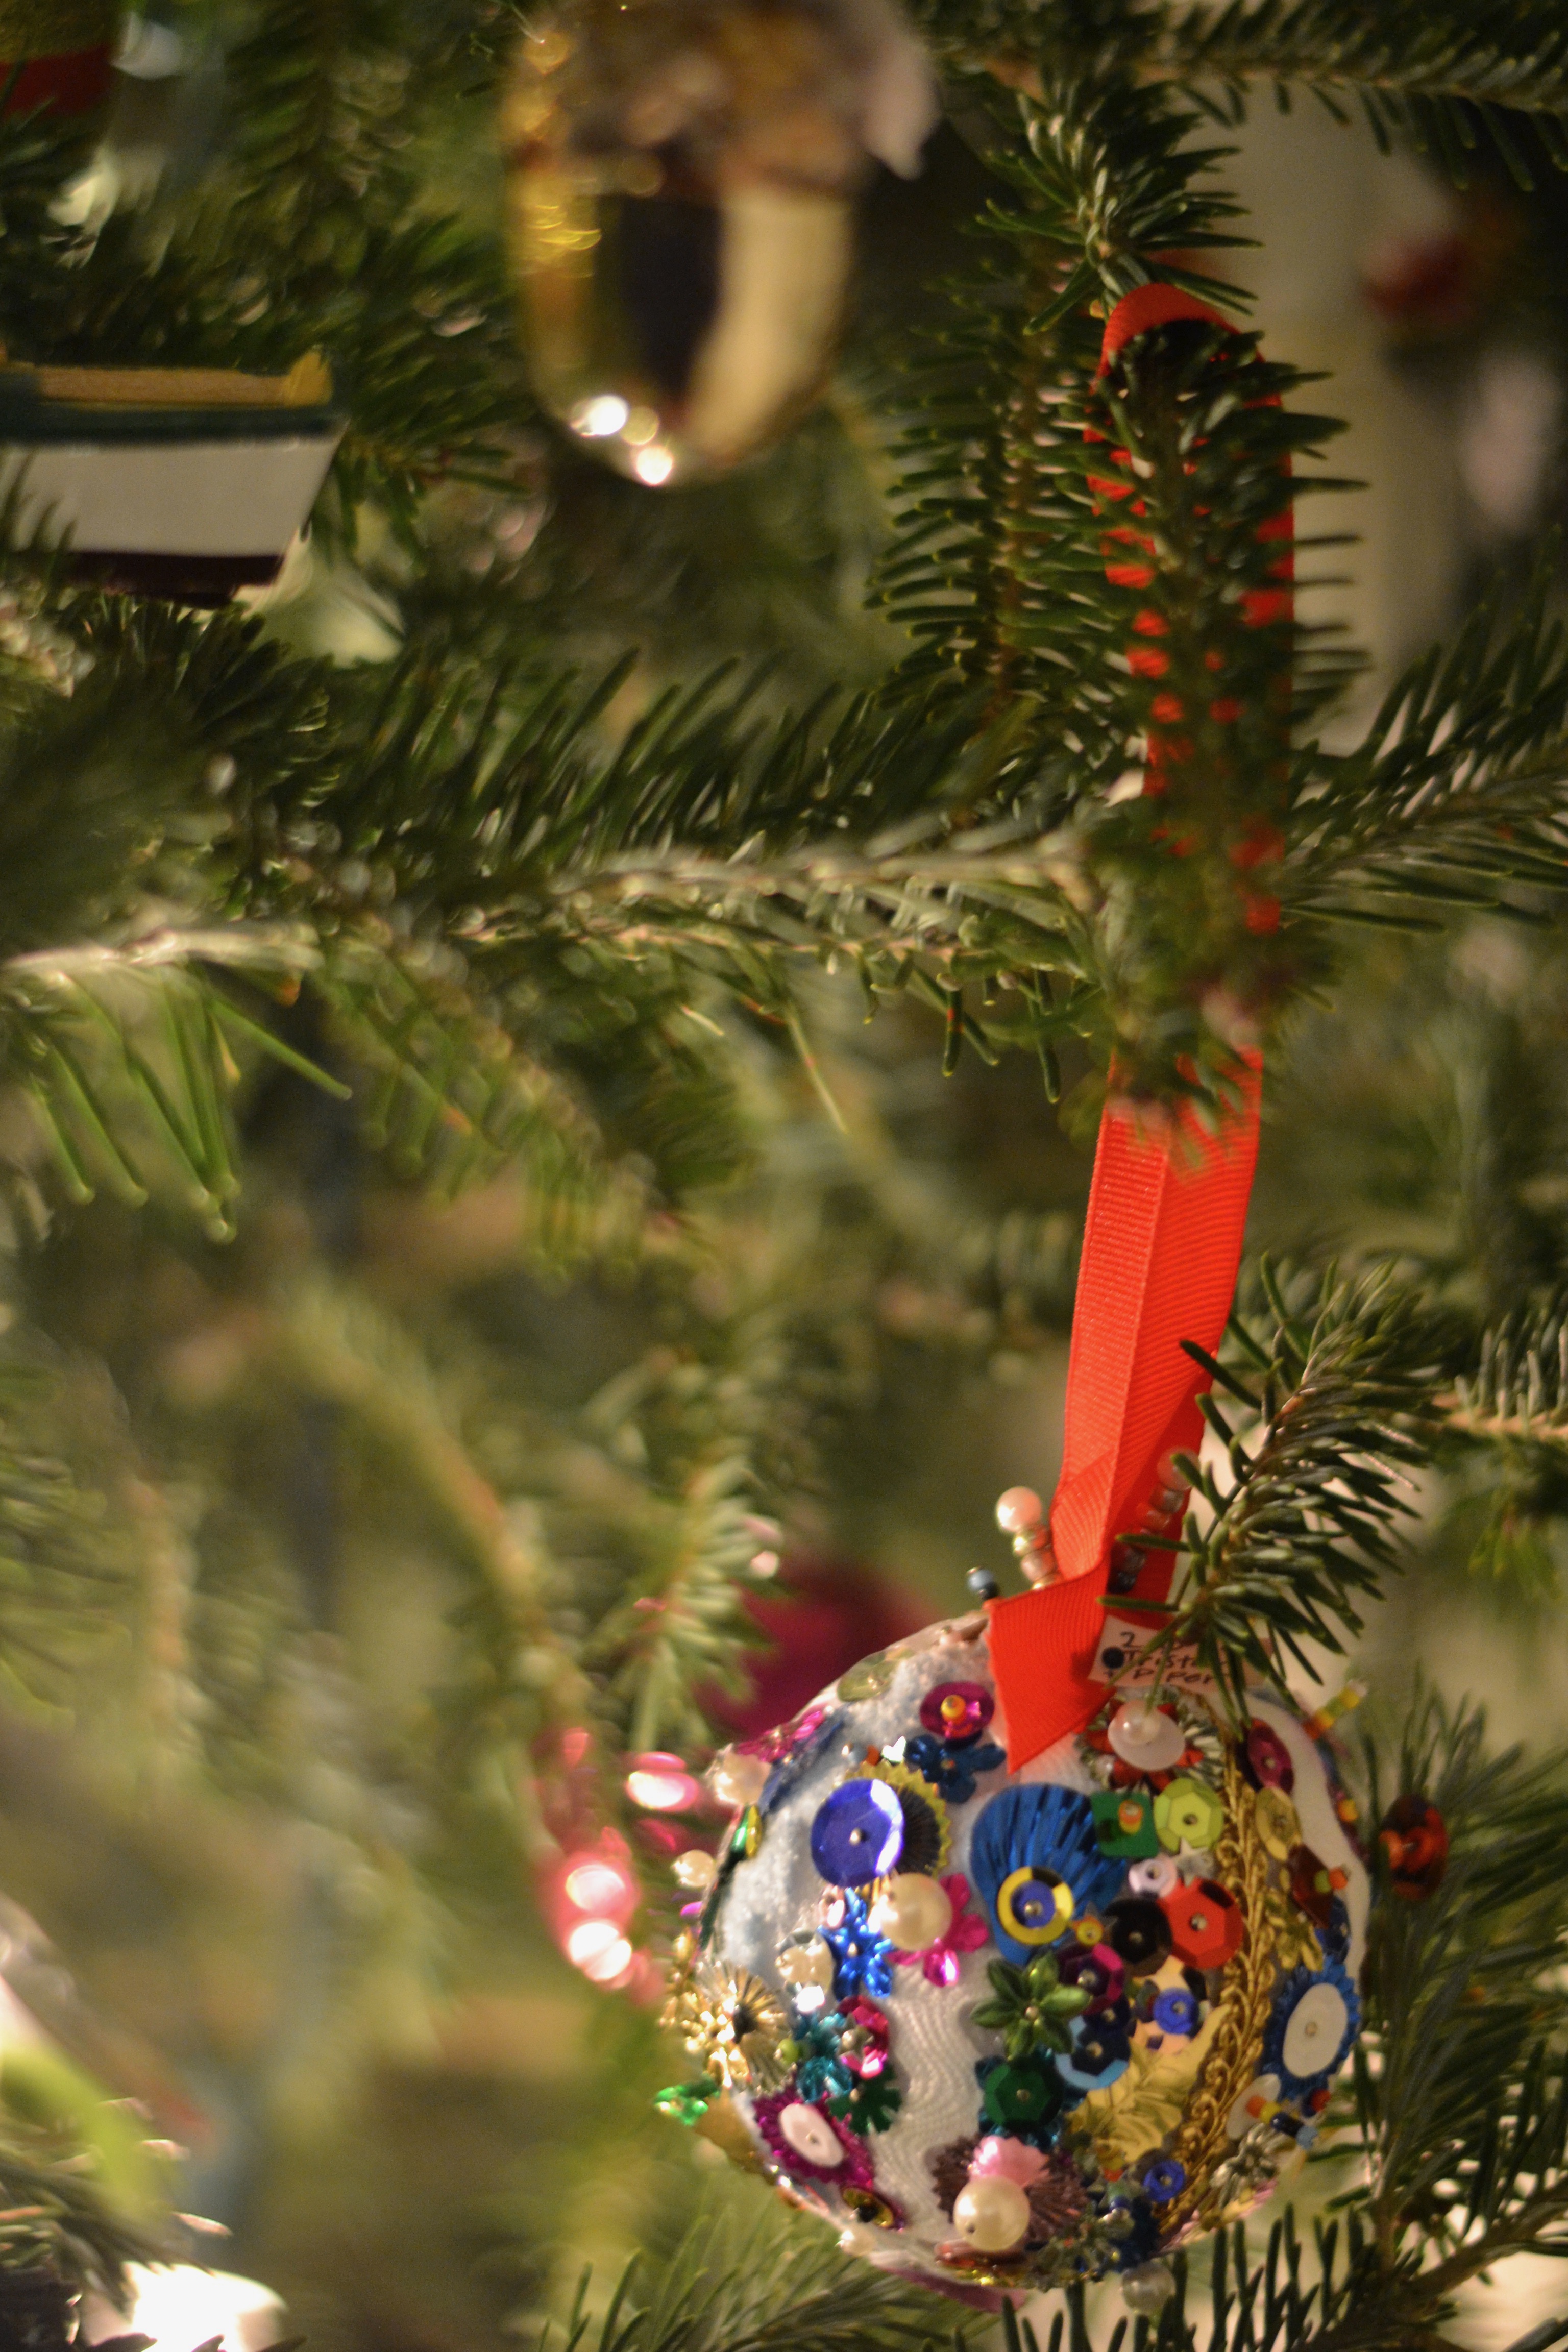
This one came from some crafty cousins, but it on my list to do ourselves. Adorn a styrofoam ball with beads and sequins using pins! Add on fancy trim scraps, stack the beads on the pins, make patterns or don’t. The possibilities are endless!
I hope that gets your creative juices flowing. I would love to see any prized homemade ornaments you have created!
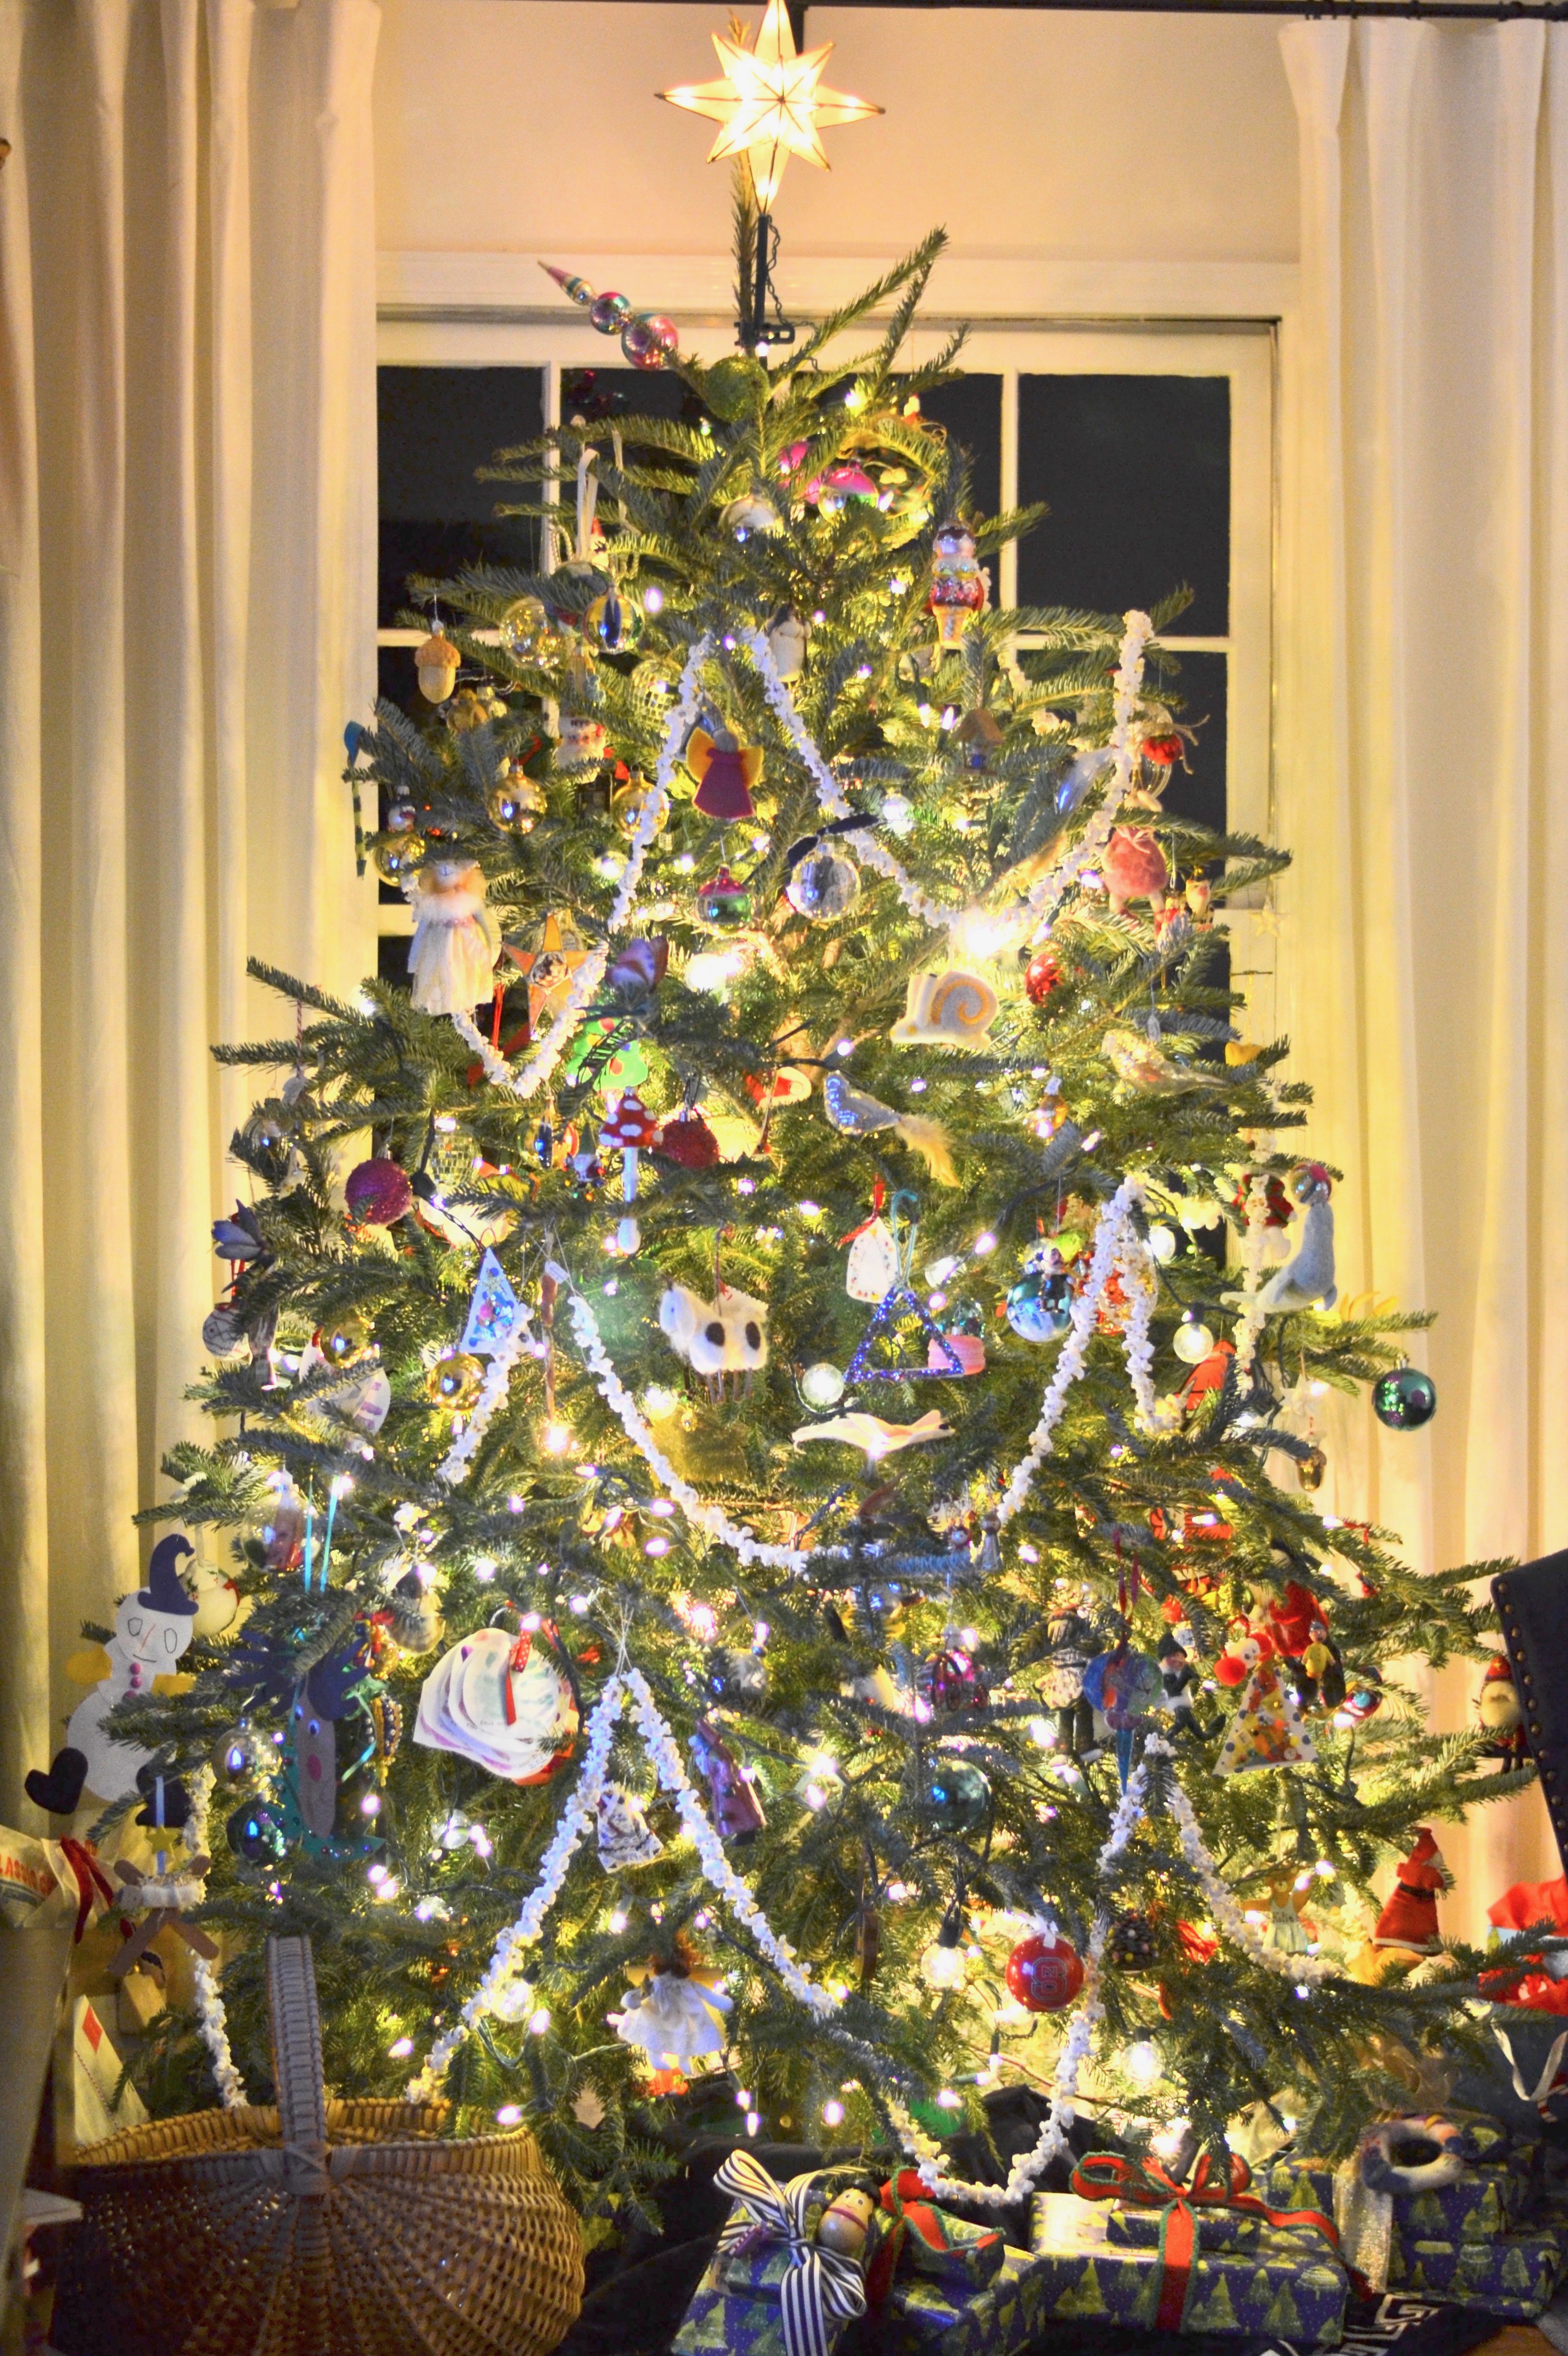
Now for a little tour of some of our other favorite ornaments…
-
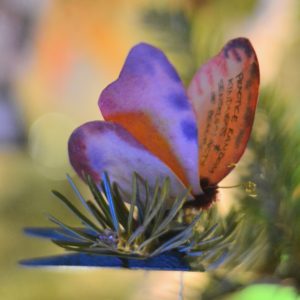
- Butterflies handmade by my Mom
-
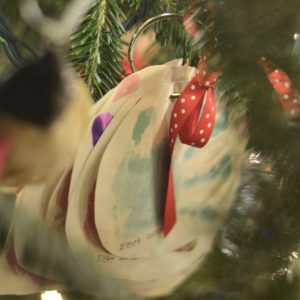
- Handprints from each Christmas
-
- A token from Fearrington Village, NC
-

- This year’s Anthro find
-

- Lucky vintage find in a junk shop
-

- Souvenier from Disney
-

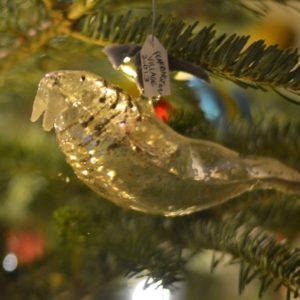
- A lucky handmade glass pickle
-

- A cute nativity trio from Target
-

- Wedding day photo
-
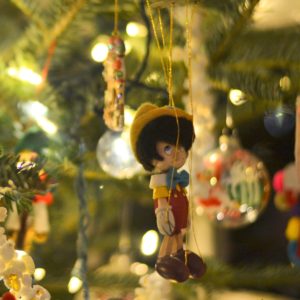
- Pinnochio marionette
-
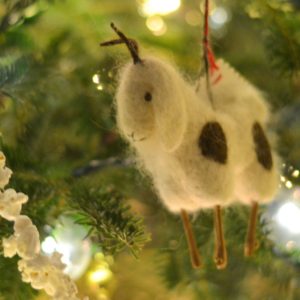
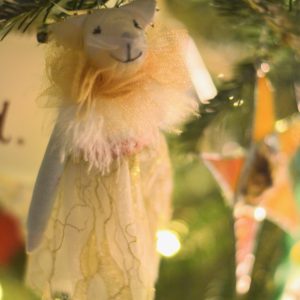
- A sweet wooly sheep
-

- Artistic Santa from Mud Dabber’s
-
- Last year’s Anthro find
-
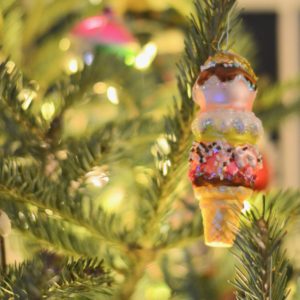
- Everyone’s favorite treat
-

- St. Patty’s Annalee for my March 17th babe
-
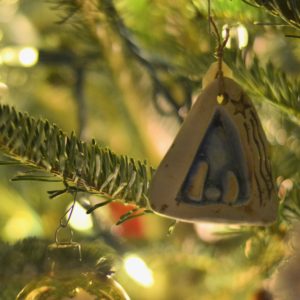
- A simple Creche
-
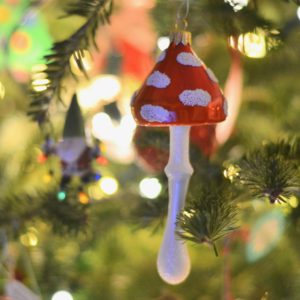
- Gorgeous ‘shroom from terrain
I couldn’t help myself and as I was perusing all of these gorgeous ornaments, I put together a few more favorites I love. Any of these would fit right in our collected, personality-filled tree. Or yours!
Affiliate Links Above