Form vs function…an ongoing struggle as we cultivate homes that work well for us, but also delight our visual senses. If you have kiddos or dogs, or just a lot of unattractive plastic kitchen stuff, let’s talk about what to do with it. Do you have bins and baskets overflowing with sippy cups and plastic bowls? Do you have a designated (or undesignated) spot on your counters where said items collect? I have had some clients and friends ask for advice about where to hide kid stuff in your kitchen, so I’m here to deliver!
I’ll break this down into three simple steps (and the third step is even optional!):
Step One: Purge
You may have seen this coming, but it’s a necessary step when it comes to revamping or organizing any space. I recommend pulling all of the – ahem, junk – out of your cabinets and drawers. It’s time to cull that mess down to only what you need. Pair up cups and containers with their lids, and start three OUT piles. Get yourself some boxes or big shopping bags, label them “toss”, “recycle”, and “donate”, and fill those suckers up with what you don’t need.
We want to create space in the cabinets for items you actually use, so assess ALL of the cabinets in your kitchen…do you really need four 11×17 Pyrex dishes? Prolly not. Those items that were gifted to you at your wedding that you hold onto for for posterity’s (or guilt’s) sake: take a moment to honor the gift giver, then send it on to a place were it can find a new home (the Habitat Restore). If you haven’t used an item in a year, add it to an OUT pile.
Some things you may only use once or twice a year: holiday serving dishes, an ice cream maker, etc. If cabinet space is at a minimum, try to find a spot adjacent to the kitchen to store these lesser used pieces. Perhaps it’s a hall or guest room closet, or a shelf in the basement or attic. It’s worth stashing them farther away from the kitchen if you can free up that valuable prime real estate for items you use daily.

Now you have more space to organize and store the necessities. Sort the items into like categories and see where they fit in your newly spacious cabinets and drawers. You may need to pick up some inexpensive plastic storage bins to cull items within a cabinet or drawer. I like to keep the most used items in the most convenient spots. For instance, plates/bowls/cups go in a low drawer where our girls can reach them and they are near the dishwasher for easy unloading.
If you’ve filled your cabinets and drawers, and are still left with items that don’t fit, it’s time for step two.
Step Two: Disguise
Let’s get creative in storing those items that just don’t fit. It may be necessary to utilize visible space to store some of your stuff. Think about where in your kitchen you could stash a basket or bin. Here are some suggestions: above the refrigerator, on a lesser used section of the counter, or on open shelving.
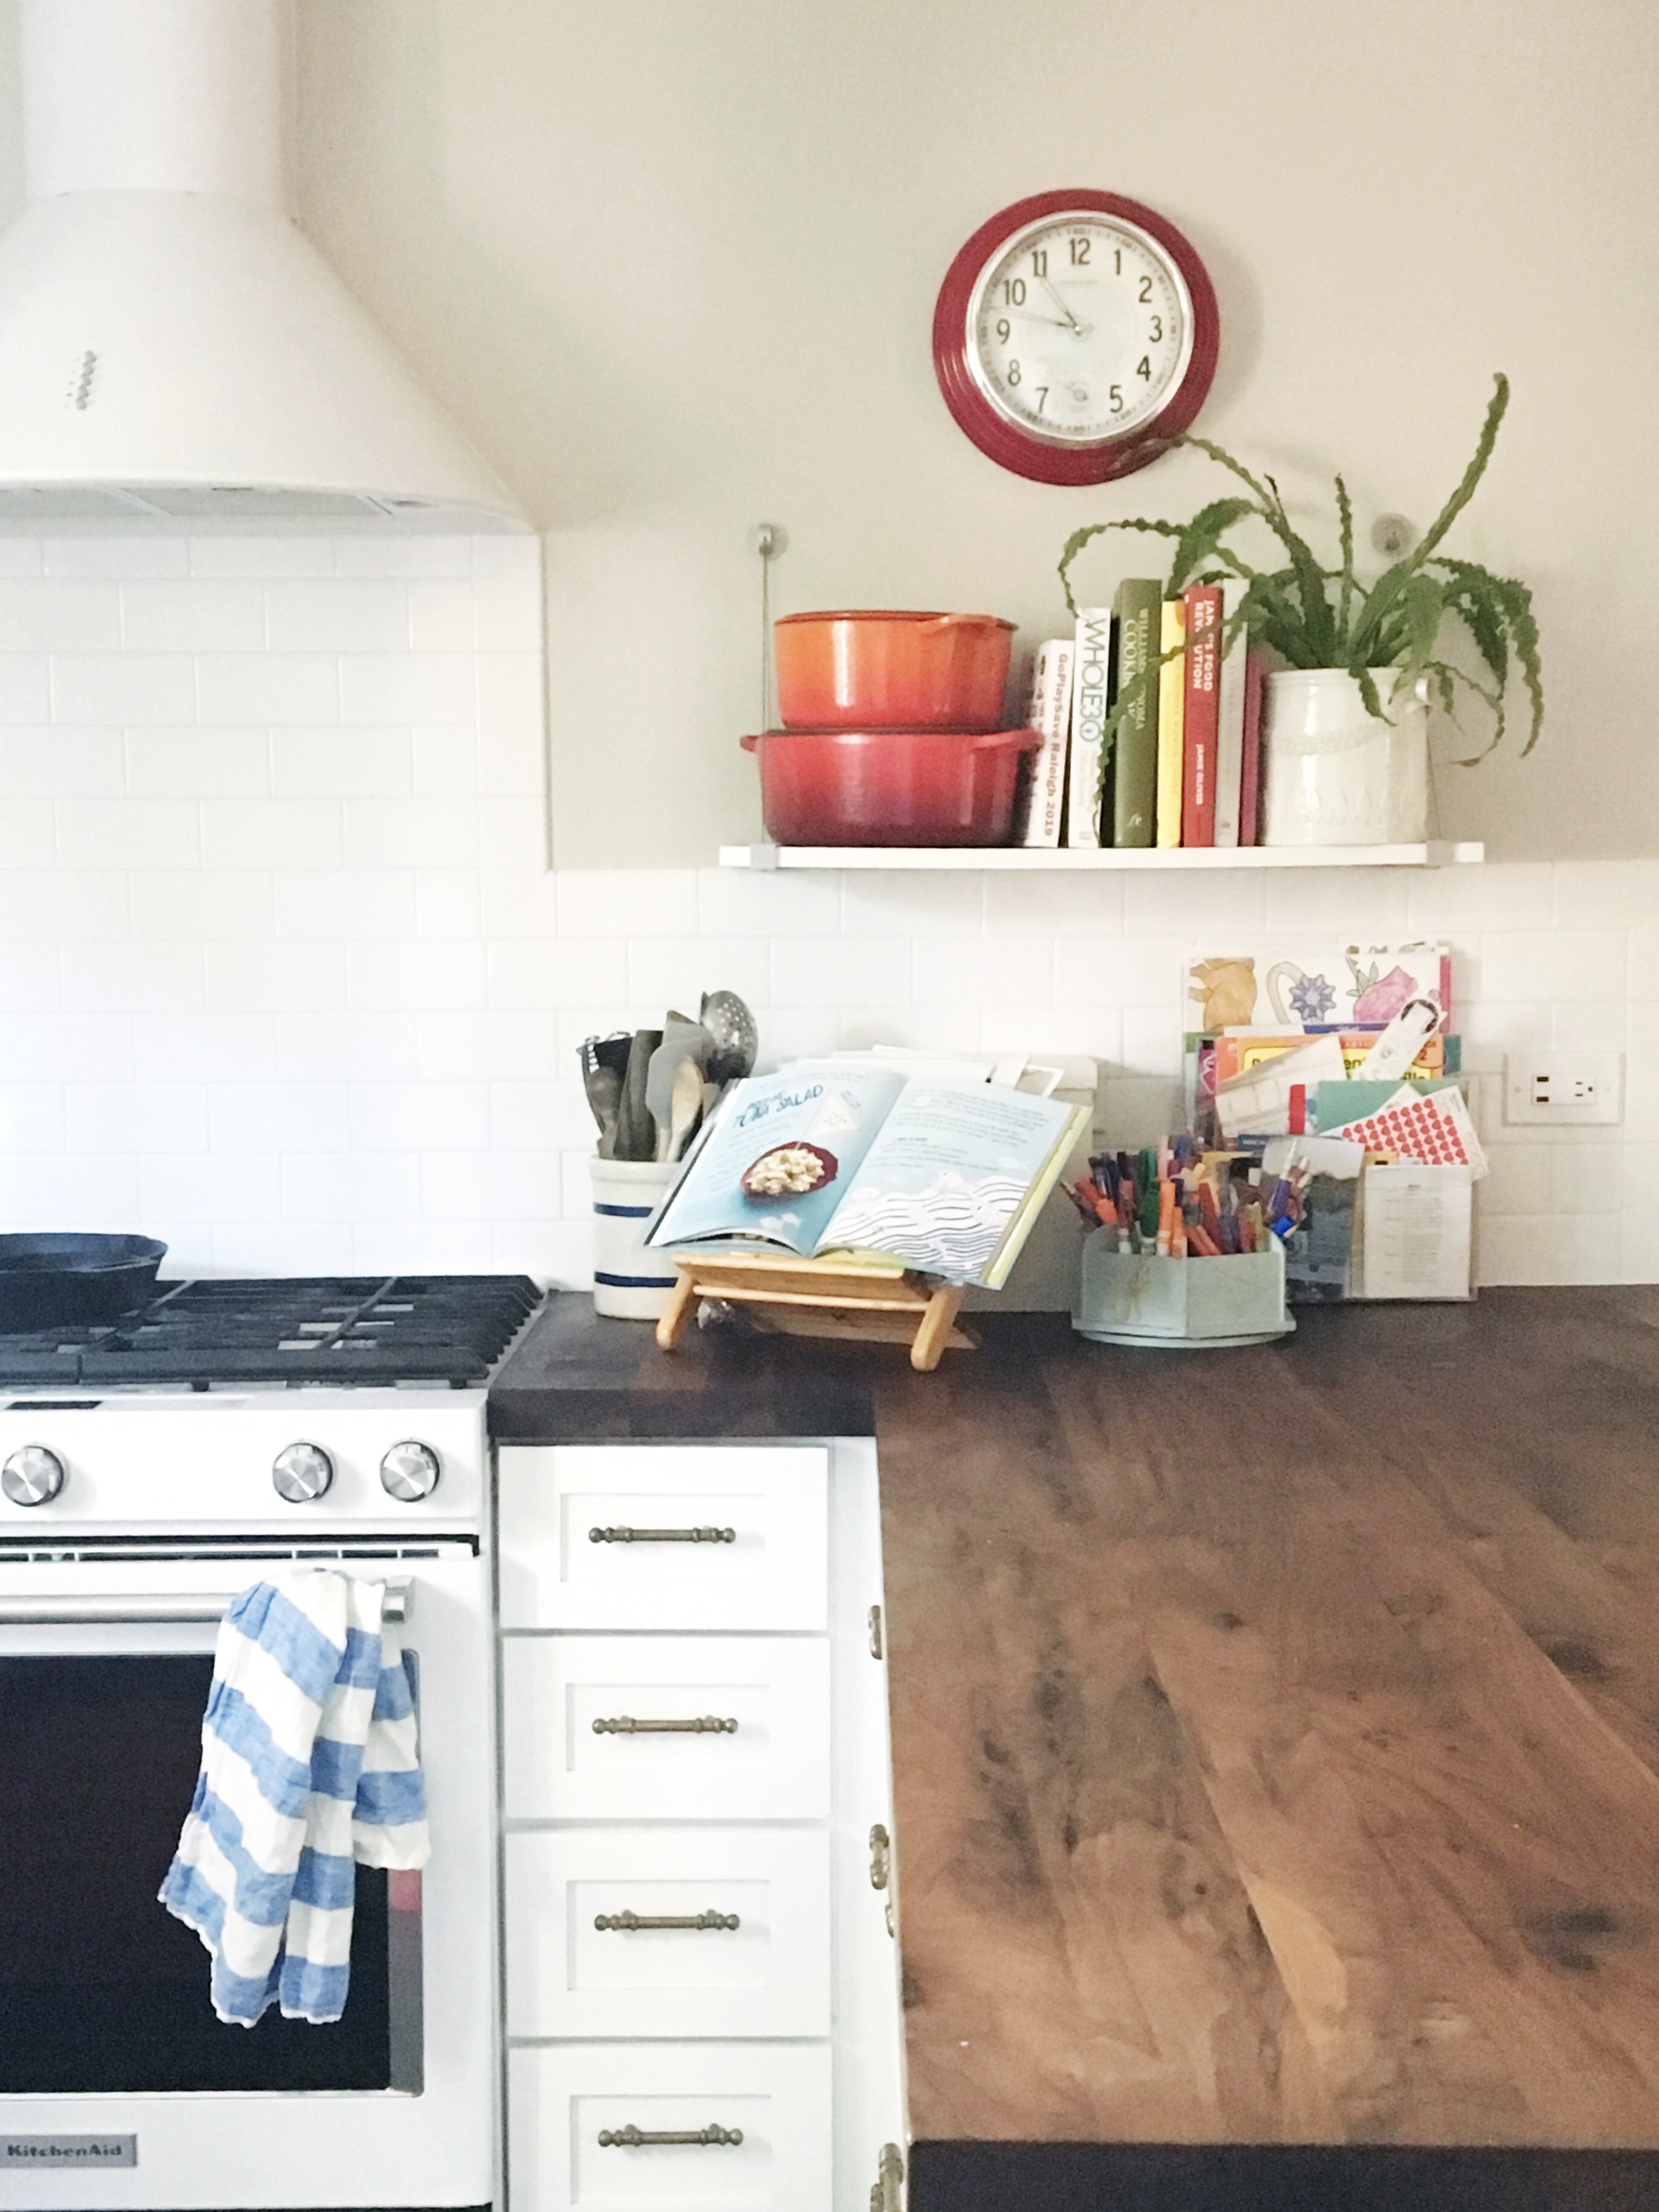
If you have 6-8 inches of clearance between your refrigerator and the cabinet above it, you may have room for a shallow, wide basket or two (did you notice that little basket on top of our fridge in the first picture up top?). This could be the perfect spot to stash place mats, plates, or even overflow kid artwork.
Perhaps you have open shelving in your kitchen, or even a single shelf for cookbooks. Maximize that space by finding a basket or bin that will fit it perfectly.
You may have a little nook in your kitchen that a small rolling cart would fit into. There are some adorable options available that you could further organize with bins and baskets.
Bonus Tip:
One of the most important things to keep in mind is that whatever season of life you are in, your needs are likely to change, just as the seasons change. Just because you have dozens of baby bottles to wash, dry, and store now doesn’t mean you’ll always have them. Sometimes we need to accept where we are, make do for now, and re-assess in a few years.
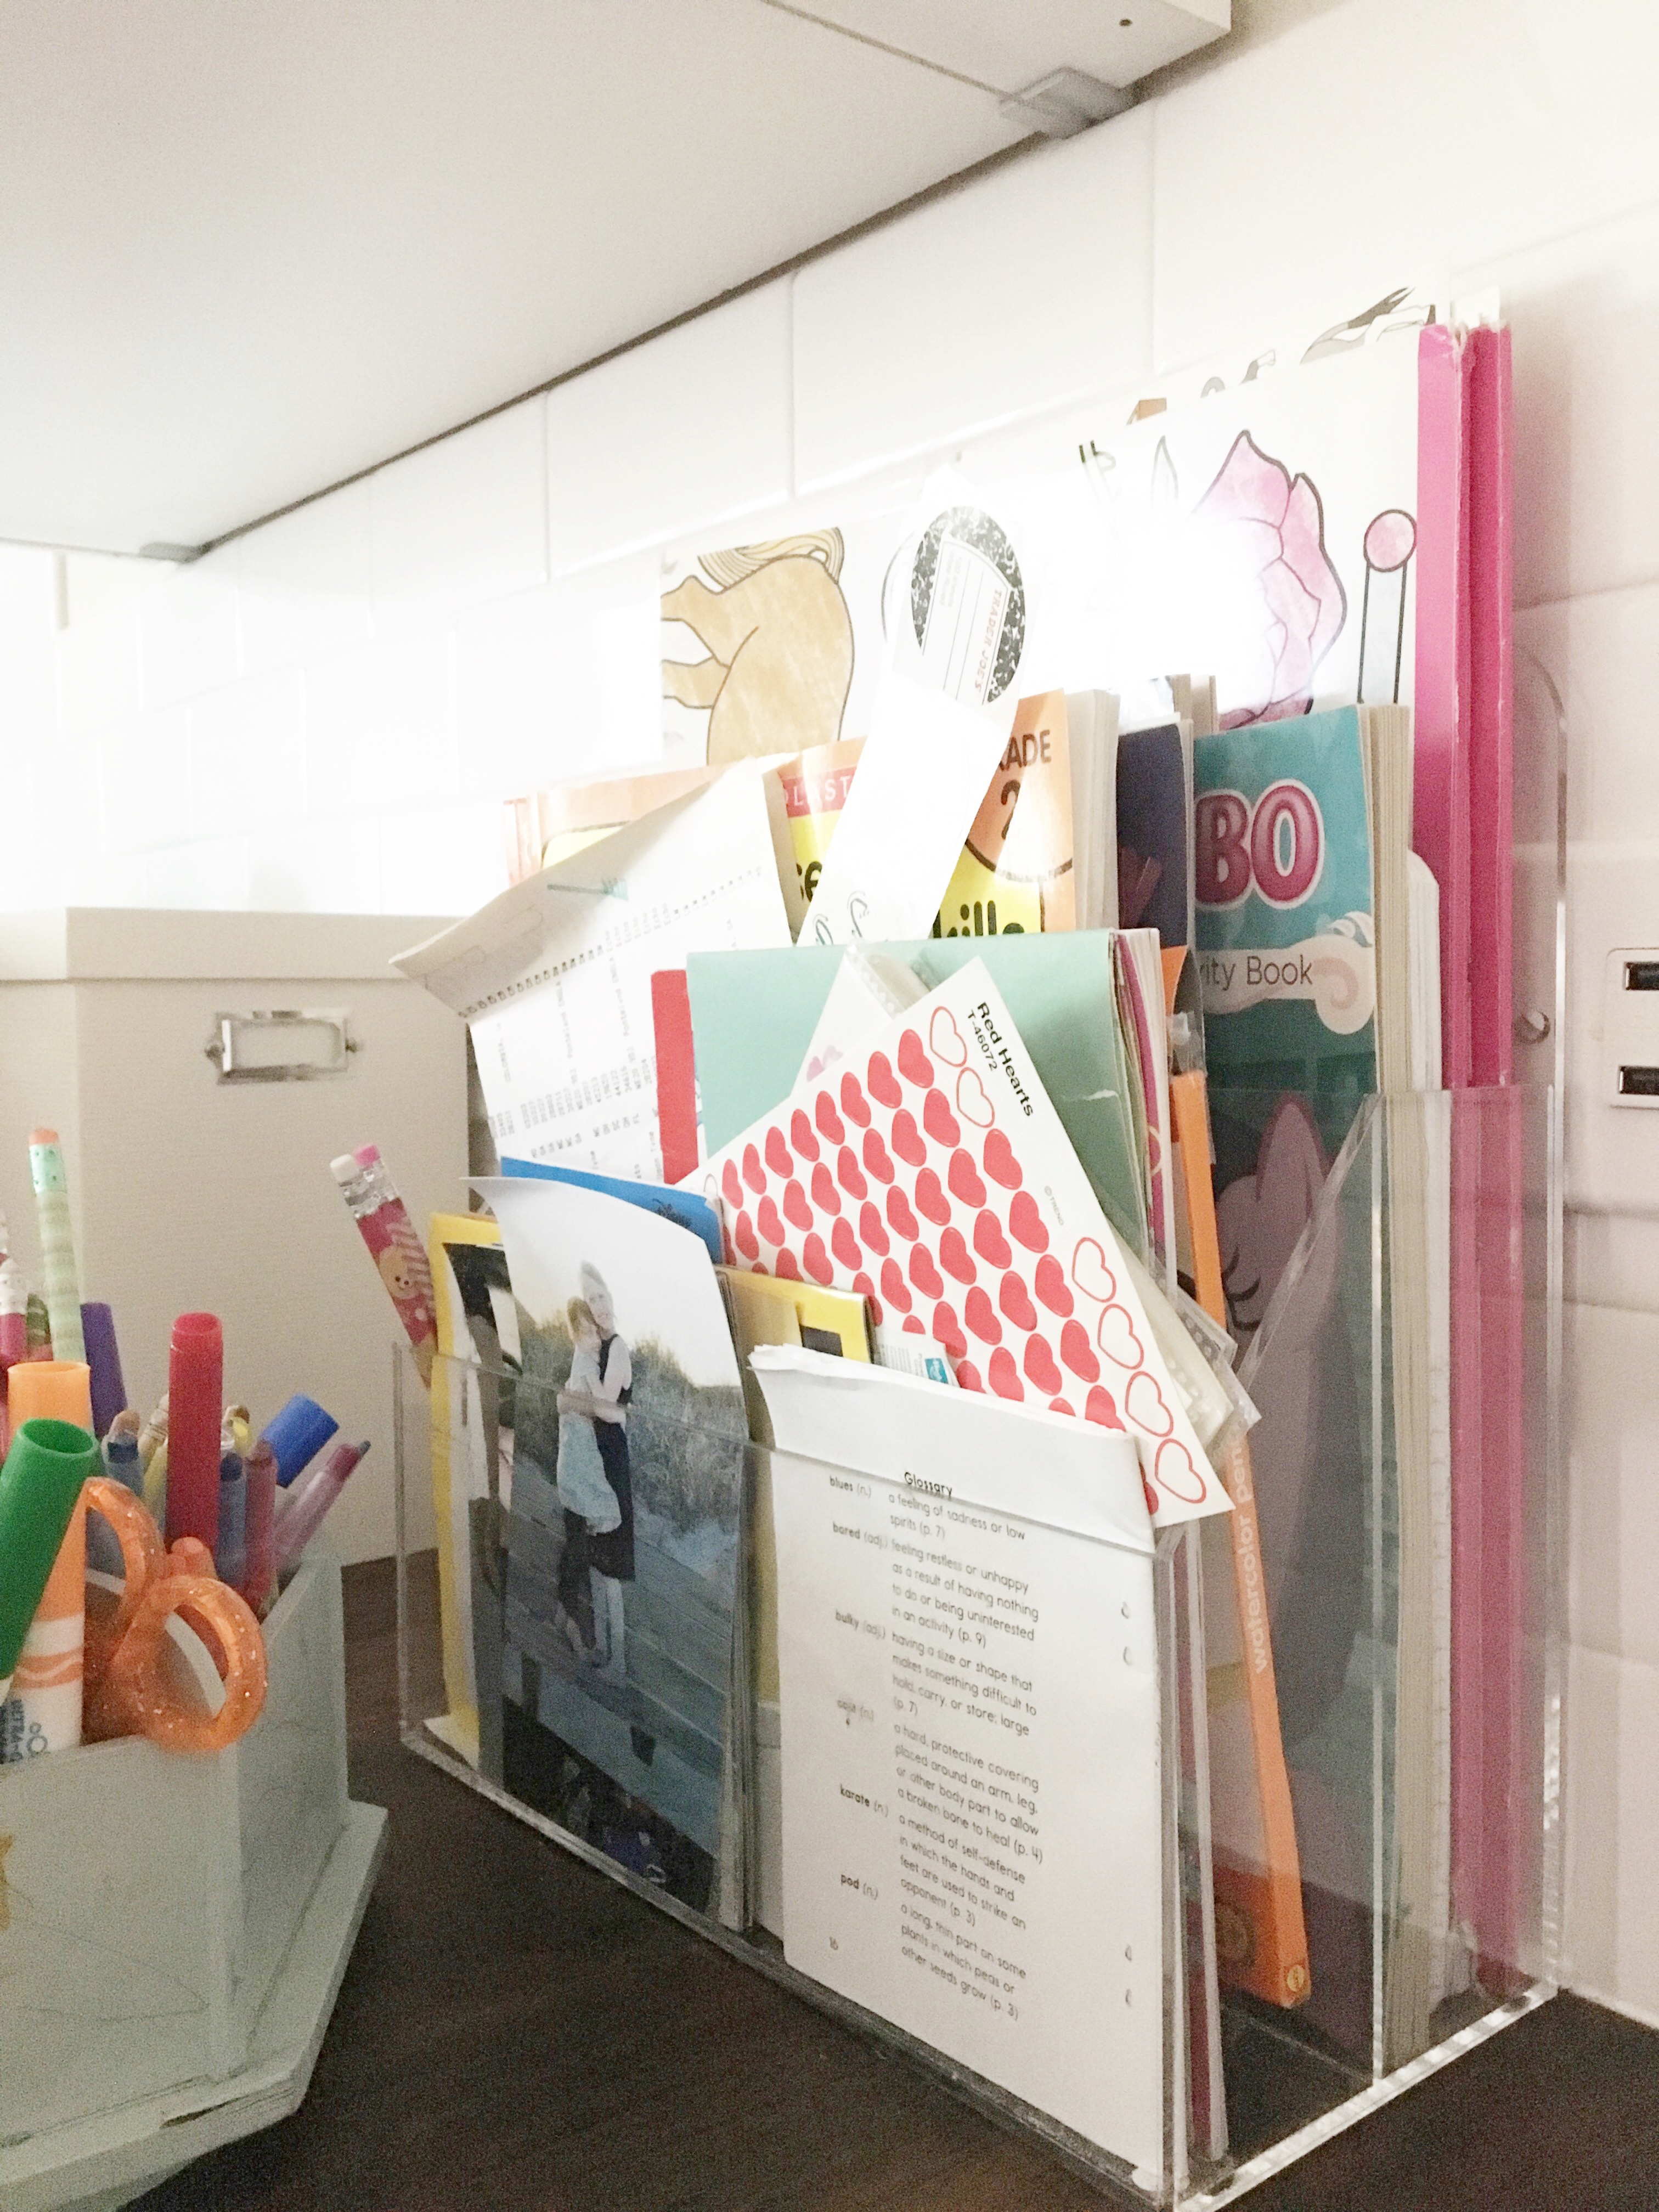
For instance, our kitchen peninsula is used multiple times a day for coloring. Rather than storing the coloring books and markers in a drawer or in an adjacent room, we made space right on top of the counter for them. I picked up a cute caddy and acrylic file box from Home Goods and they live on our counter, ready for impromptu coloring sessions. It’s a breeze to tidy up.

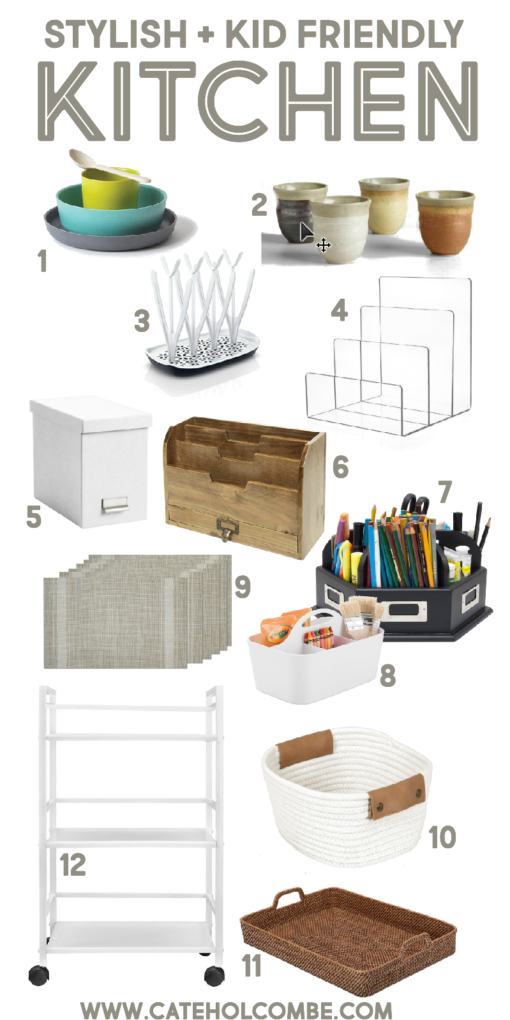
To the left of our acrylic coloring book/sticker stash is a solid white file box which is visually “cleaner”. I keep our recipes here, but you may prefer to use one or two of these to stash your books and papers. I picked this one up at Office Max, but I’ll link a similar one below.

Optional Step Three: Replace
Now that you’ve considered what you really need, and where you can store it, you may find that there are some items that you may want to replace completely.
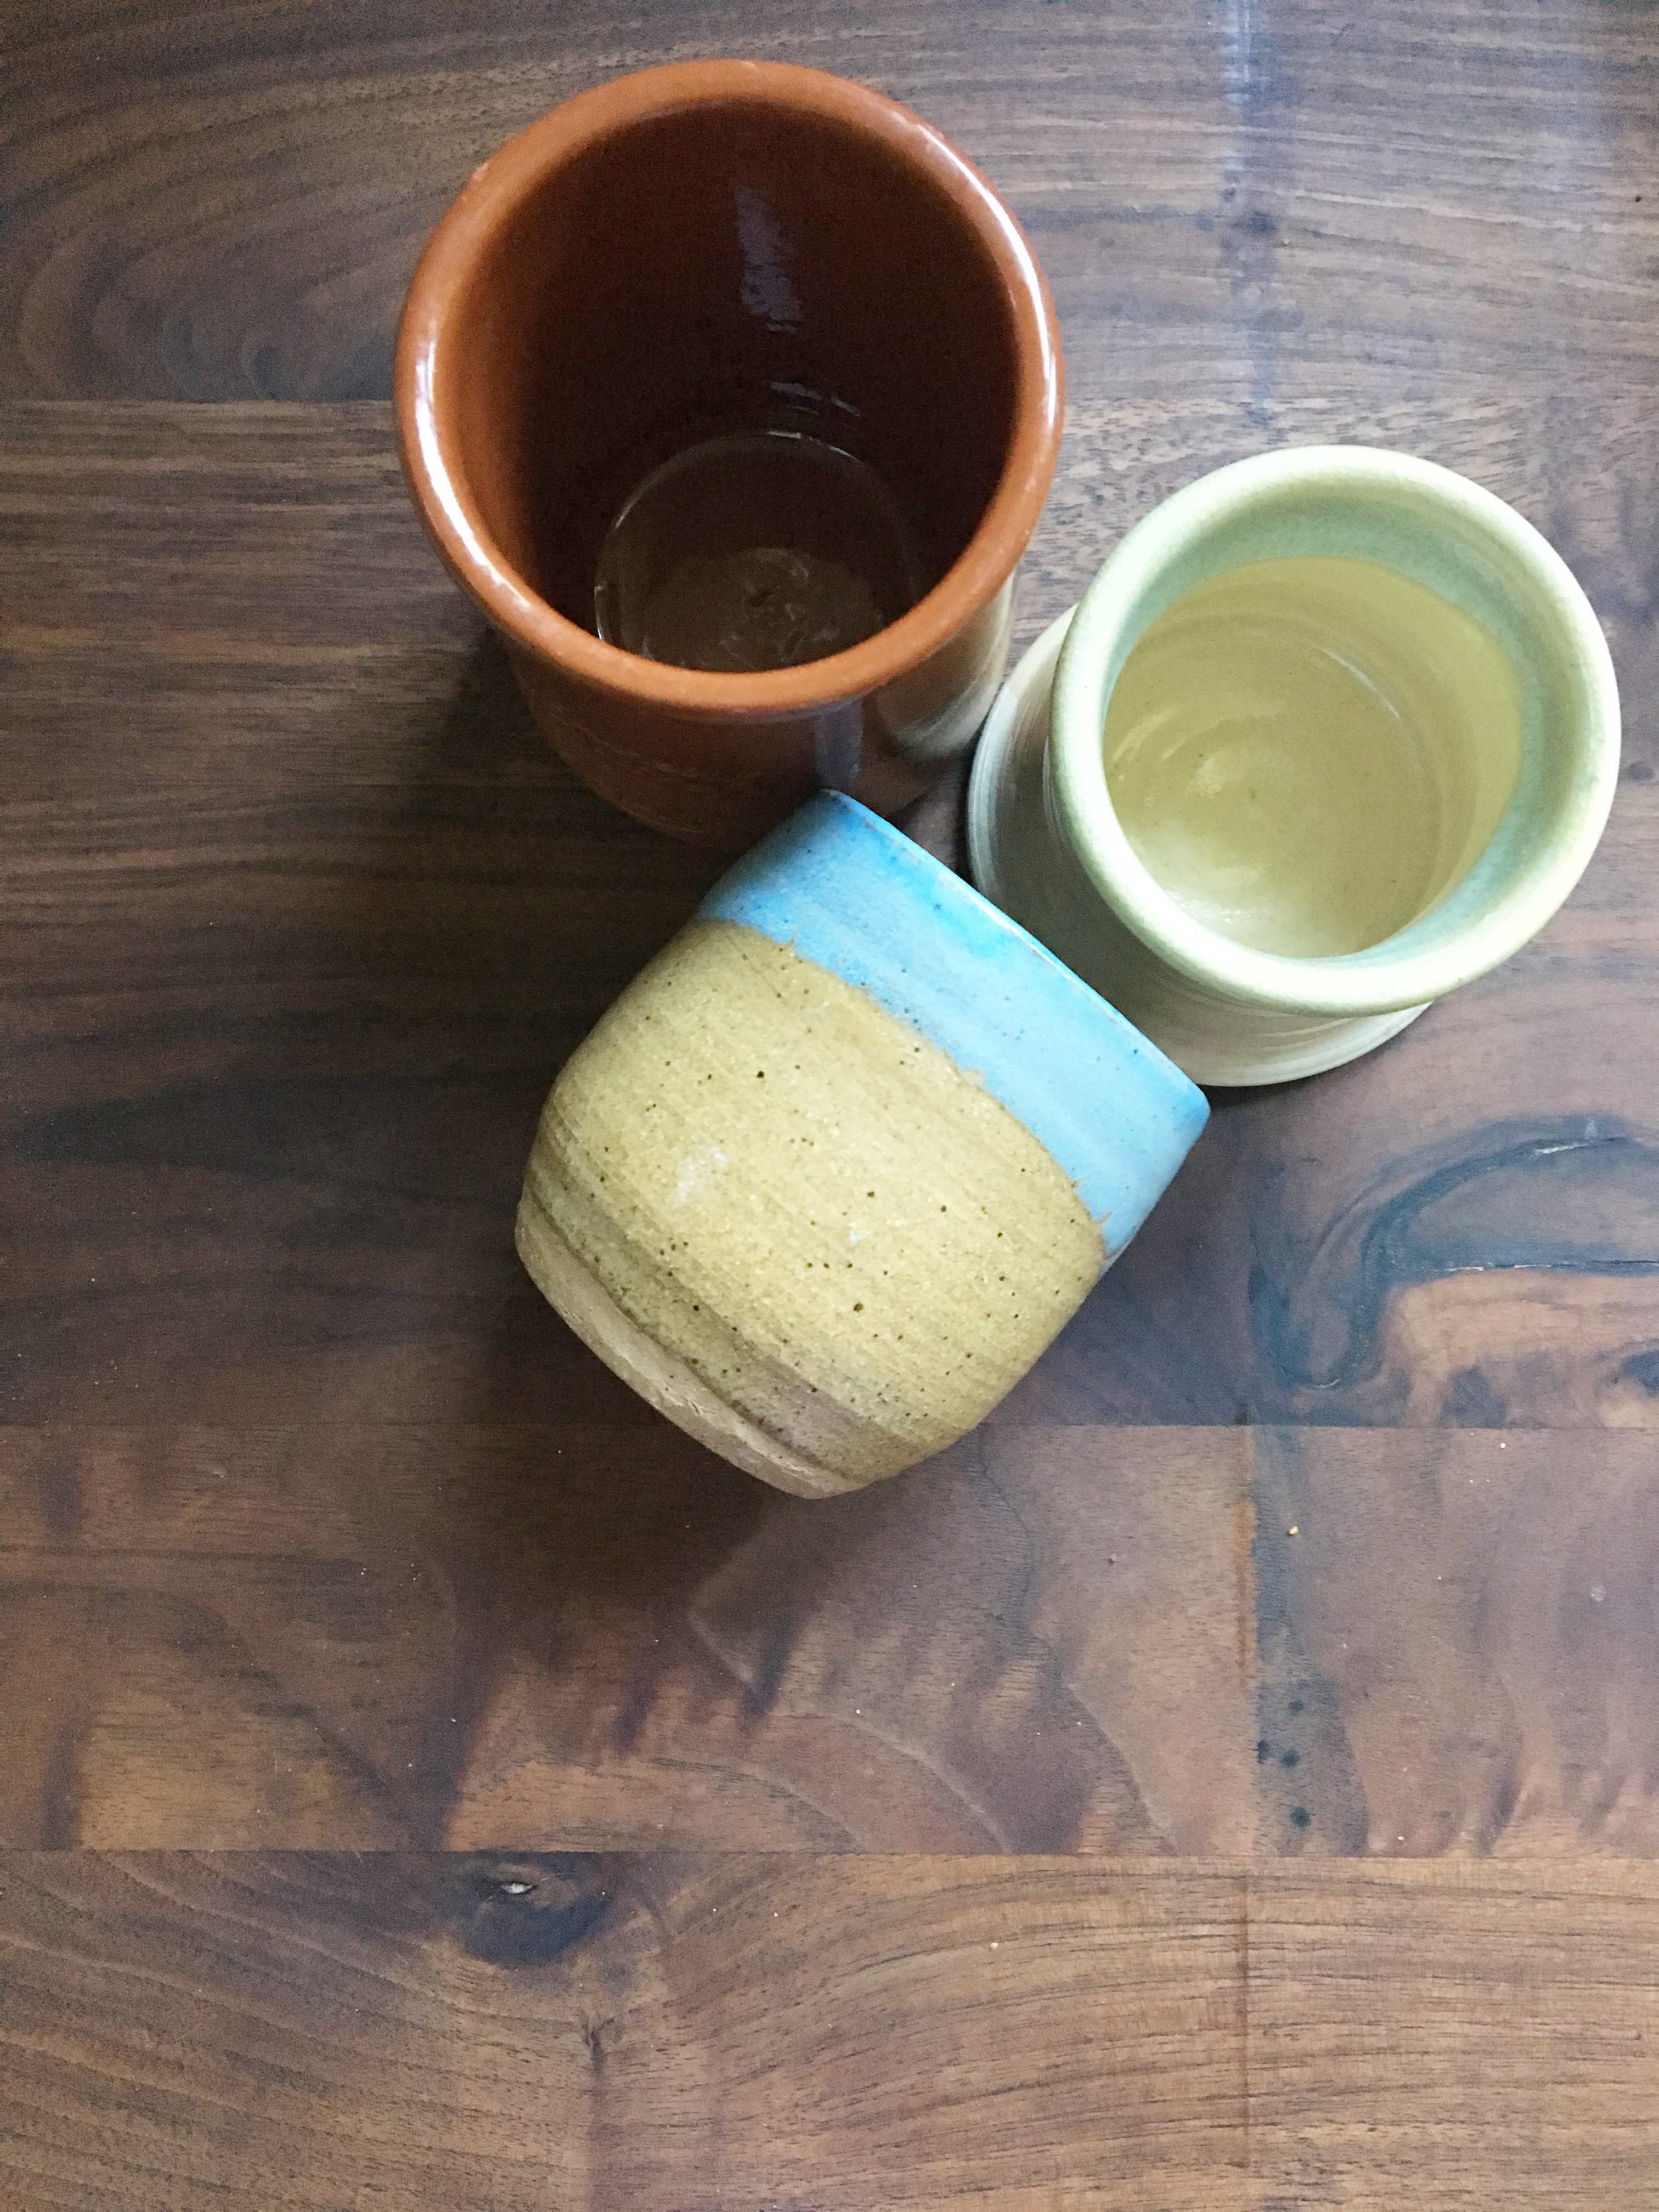
Look for prettier versions of the items that you despise the most. For instance, rather than plastic drinking cups, we serve drinks to our girls in these small ceramic cups. Some came from our favorite pottery shop in Brevard, NC (Mud Dabbers!), and some are the European single serve Yoplait containers (I spot these in thrift stores often). They are not unbreakable, but they are quite sturdy, and I would much rather see and store and use these than plastic cups.

There are also some gorgeous melamine options for plates, bowls, and cups out there. Take a look around, and think outside of the box the next time you need to buy “kid stuff”. There may just be a less kid-like option that would work perfectly and not blind you with neon colors and cartoon characters. Do you use placemats for your kiddos? Rather than the themed ones, choose a simple neutral stripe that’s still wipe-able.
Storage-wise, if you’re lucky enough to have a Container Store nearby, you will find all kinds of lovely organizational options there.
I have listed some sources below that may inspire you to replace what you already have or add some function to your kitchen.

What’s the biggest eye sore in your kitchen? Do you have a lovely version of a childhood kitchen must-have? Do share!
Be sure to subscribe to my newsletter to get more tips and tricks and design inspiration, delivered straight to your inbox. I promise to only share helpful, inspiring things!
xo
cate